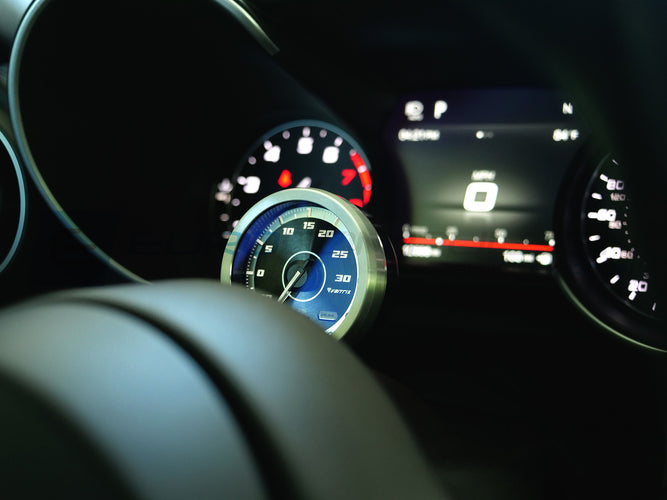
The following is a guide for installing the Vaitrix Plug & Play Boost gauge on the 2.9L V6 Twin Turbo engine found in the Alfa Romeo Giulia and Stelvio Quadrifoglio.
This installation is fairly simple, and the mounting locations are not set in stone. You are free to mount the gauge wherever you please as long as it does not pull on the wiring or connections to the gauge too harshly. The gauge comes with a stand and mounting pod with 3M adhesive tape that's very friendly to soft touch plastics and other trims in the interior of the vehicle.
PARTS FOR INSTALLATION:
- - Vaitrix GEN2 Gauge
- - Vehicle Specific Harness plugin
- - (3) Red Positaps
- - 3M sticky pads for mounting
- - Gauge Pod stand
- - Remote control
VAITRIX FACTORY MANUAL:

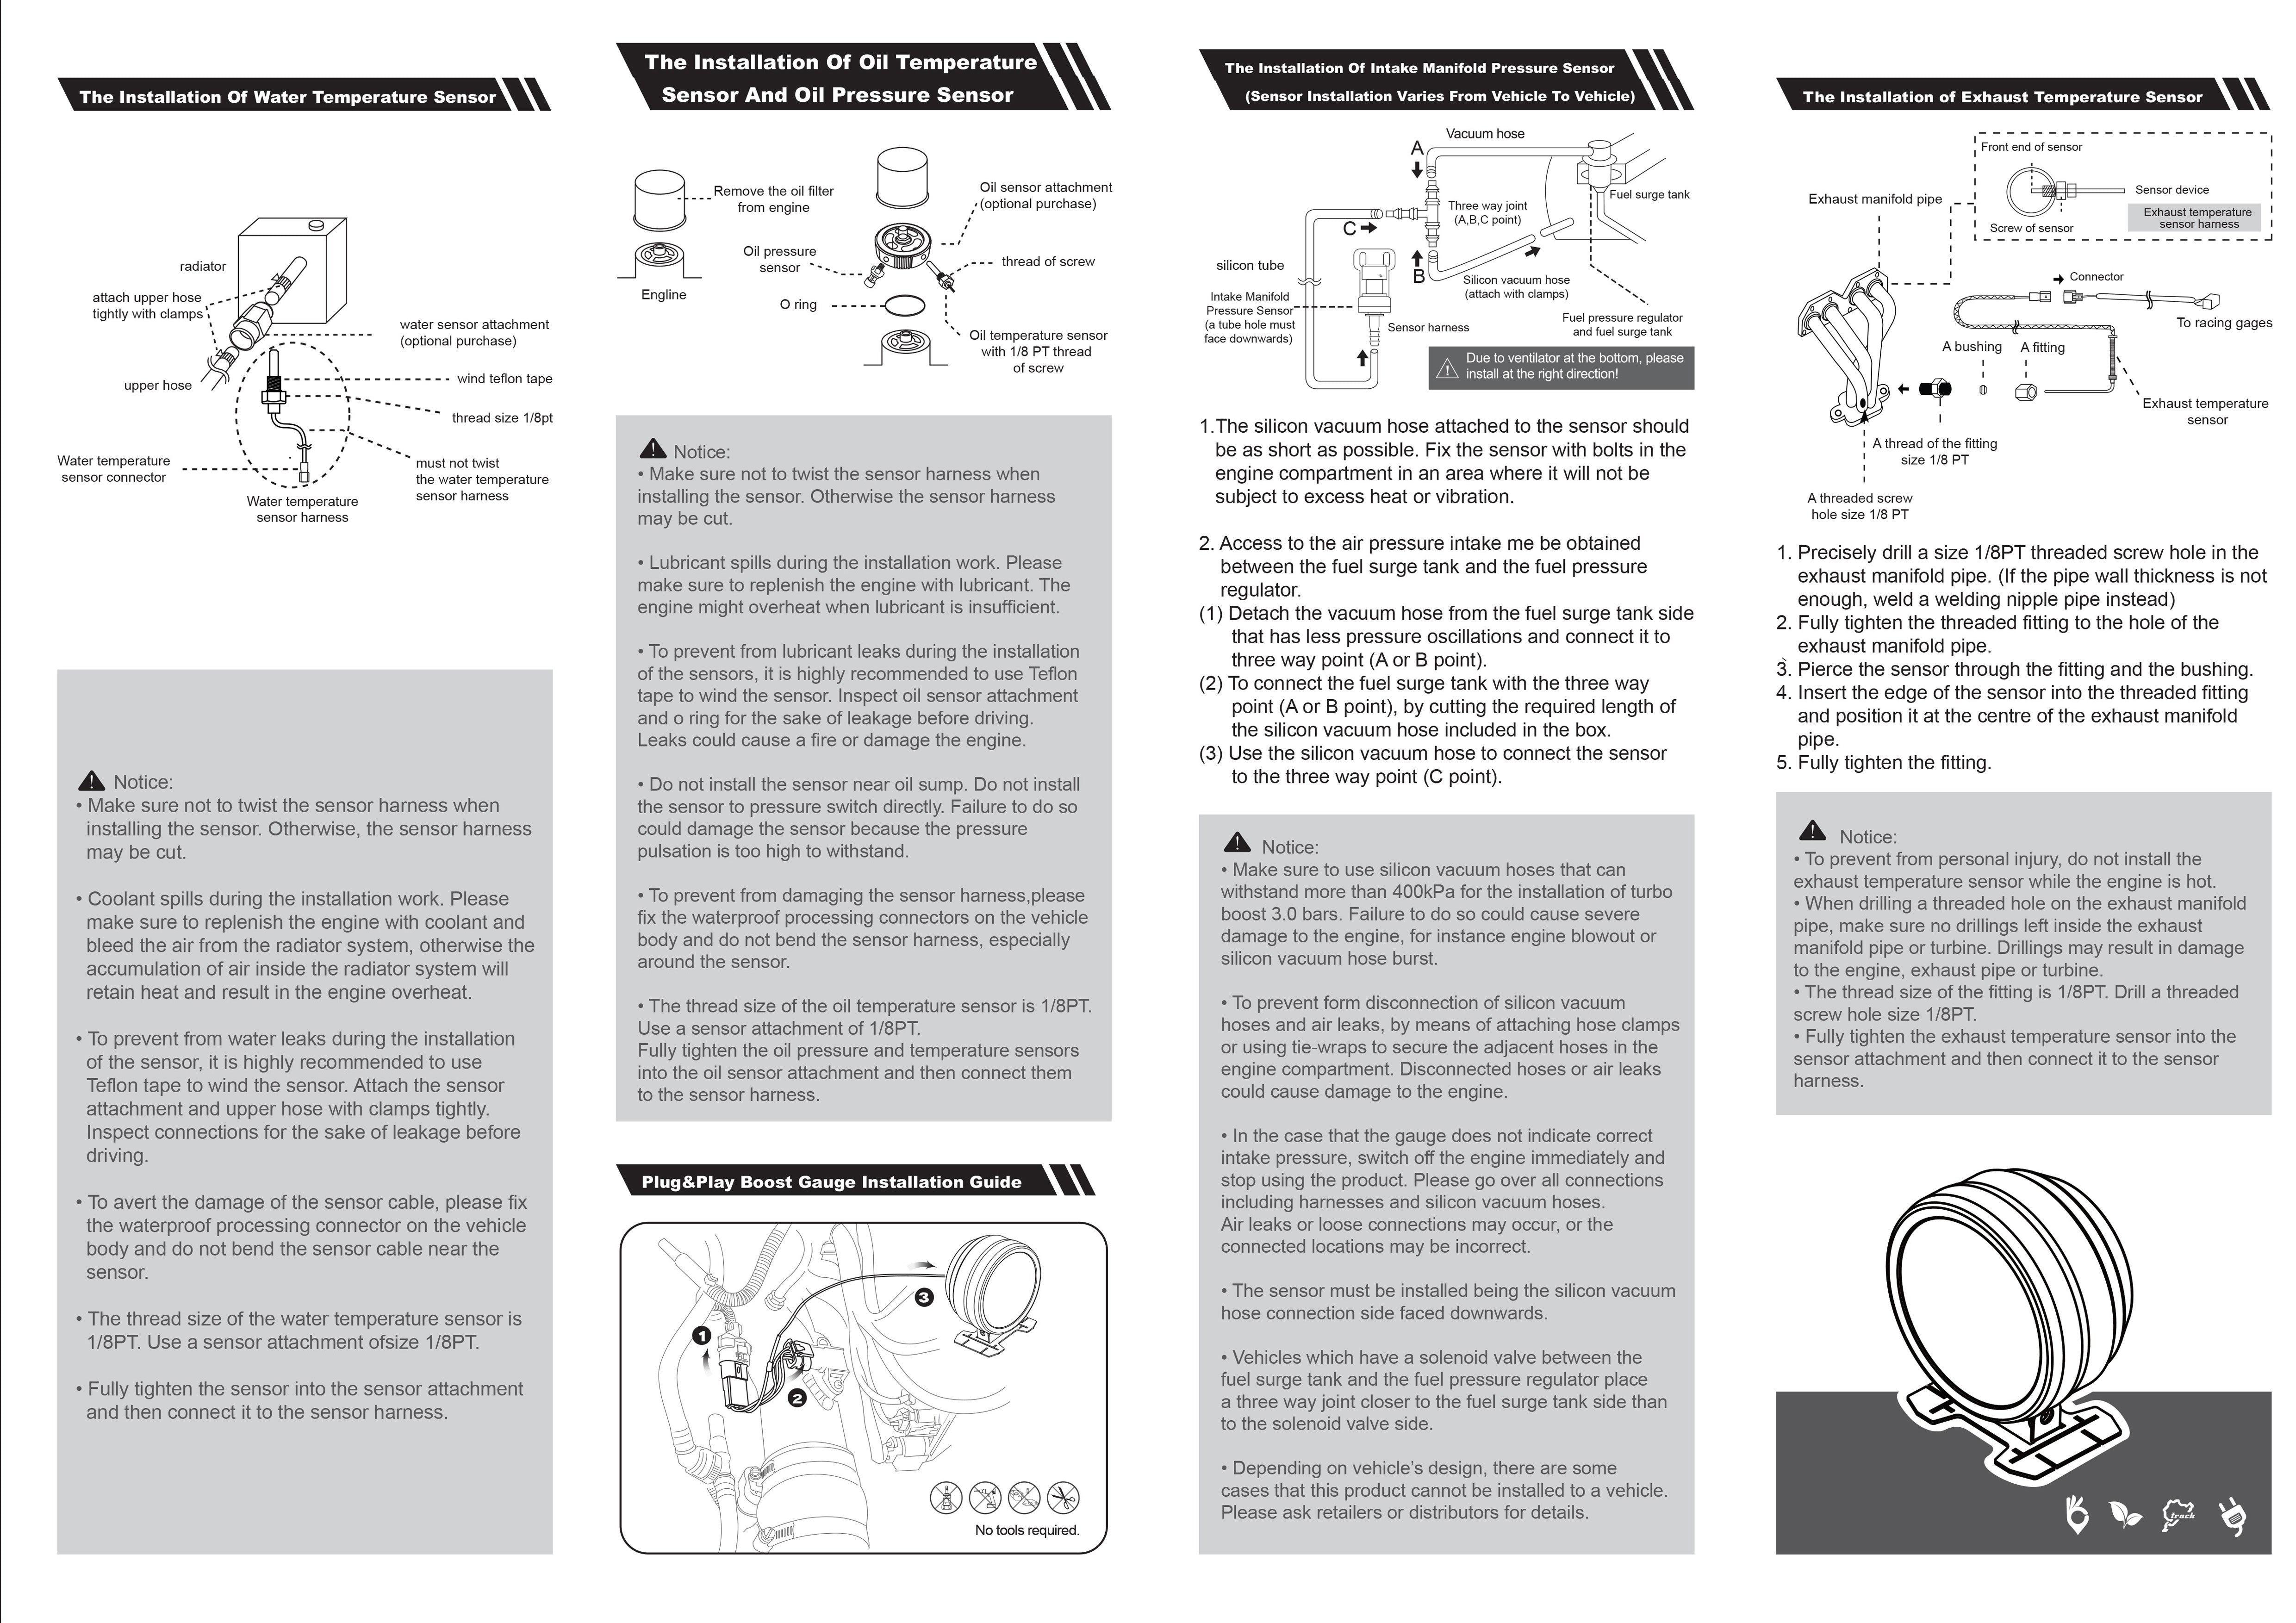
INSTALLATION:
***BEFORE STARTING YOUR INSTALLATION, DISCONNECT THE NEGATIVE TERMINAL ON THE BATTERY VIA THE QUICK CONNECT LOCATED ON THE BATTERY IN THE TRUNK***
Begin by pulling off the airbox cover (this is held on by grommets underneath, you can gently pull it off without having to remove anything)
It is possible to reach the MAP/Manifold Sensor with just this airbox cover removed. However, if you need more space, you can remove the center airbox feed. It is also attached to grommets, it simply pulls up and off the airbox, and separates from the accordion arms.

Next, locate the MAP/Manifold sensor. There are (2) to choose from on this engine, we've chosen the driver side sensor because it is closer to the entrance to the cabin (less complications for wiring).

Next, we will disconnect the MAP/Manifold sensor from the connector. We will be piggybacking off this sensor for the signal to the boost gauge. To disconnect this sensor, carefully push back the yellow clip with a flat head or your finger. Do not pry to hard, or you can unseat the clip. Once pushed back, squeeze and pull off the connector.
Take the vehicle specific harness from the gauge kit. The harness has a male and female sided connector. The male side will connect directly to the sensor on the manifold. The female side will connect to the factory connector you just unplugged.
Make sure that you route the harness underneath the driver side intake piece and towards the firewall. This is where you will pass through to the cabin in order to connect to the gauge. Routing underneath the intake piece will give a cleaner look, and prevent the wire from getting tangled up on anything in the future.

Now, let's run the harness wire through the firewall into the cabin for connection later to the boost gauge. On the driver side of the cowl you will see an access panel. Remove the lid to this access panel.

Peer down into the access panel, and below on the firewall you will see a grommet cover. This is where we will pass through to the cabin. You can either remove this grommet using a flathead, or you can also use a flat head to simply poke a hole through the center of the grommet. This will allow you to run the wire from the sensor harness through the hole easily.
Once you begin to feed the wire through the hole, you can go into the cabin of the vehicle and pull the rest through. The wire will enter the cabin underneath the dash, upwards and to the left of the pedals in the floorboard. You do not need to remove anything to get to the wire. It will be visible and easy to pull through.
Now, we will begin wiring up the gauge. First, remove the storage cubby on the left side of the steering wheel. It is held on by one screw inside the cubby at the top. Once this is removed, you can pry out the cubby on each side with a trim removal tool. It is held in by simple plastic clips.
PLEASE NOTE: The following is our recommended mounting location and wire routing. However, you are free to take power/ground and mount your gauge according to your personal preferences.
This is the primary area you will be working with for the wiring. All of your wiring can pass through this area, making it easy for you to work with and very visible.
Next we will establish power and ground for the gauge. Find the OBDII port around this same area. Squeeze the tabs on the sides of the port, and push it backwards through the mounting piece. You will be able to see it come loose looking through the cubby passageway.
Next we will tap into power and ground on the wiring from the OBDII port. The Vaitrix wiring harness has (3) wires we will be working with: Red Wire (12V power) Yellow Wire (Ignition Power), and Black (for ground). The 4th Blue wire we will not be using.
The wiring for the gauge already has (3) red positaps installed on the wiring. To tap into our sources, you will unscrew the top of the positap and hook around the desired wire. Then screw the larger end back into the threaded cap. The prong will pierce the desired wire as you tighten.
Use the diagram below to reference where you will positap the Vaitrix gauge harness wires into the OBDII port wires.

Ensure all your wiring connections are secure, and re-attach the OBDII port back into it's mounting bracket.
Now you will take the power wiring harness (connected to the OBDII port) and the sensor harness (that you ran through the firewall into this same area), and route them together behind the dash covering, and out the opening in the steering wheel column shroud.
Before mounting your gauge, make sure both wiring extensions reach and plug into your gauge without snagging or pulling on any objects or obstacles.
The vehicle specific sensor harness has a 3 prong connector, the power wiring harness has a 4 prong connector. These will plug into the back of the boost gauge.
There is only one (3) prong connector on the back of the gauge. The other connectors are 4 prong, and the power wiring harness can be connected to any of them.

Attach the gauge mounting pod to your desired location (steering column below) and use the provided 3M tape to adhere to surface. You can adjust the gauge angle to your desired view.
Make sure your wiring is secure, and begin putting the car back together in reverse order.
Connect the battery, and ensure that your gauge receives power once the ignition comes on fully.

