

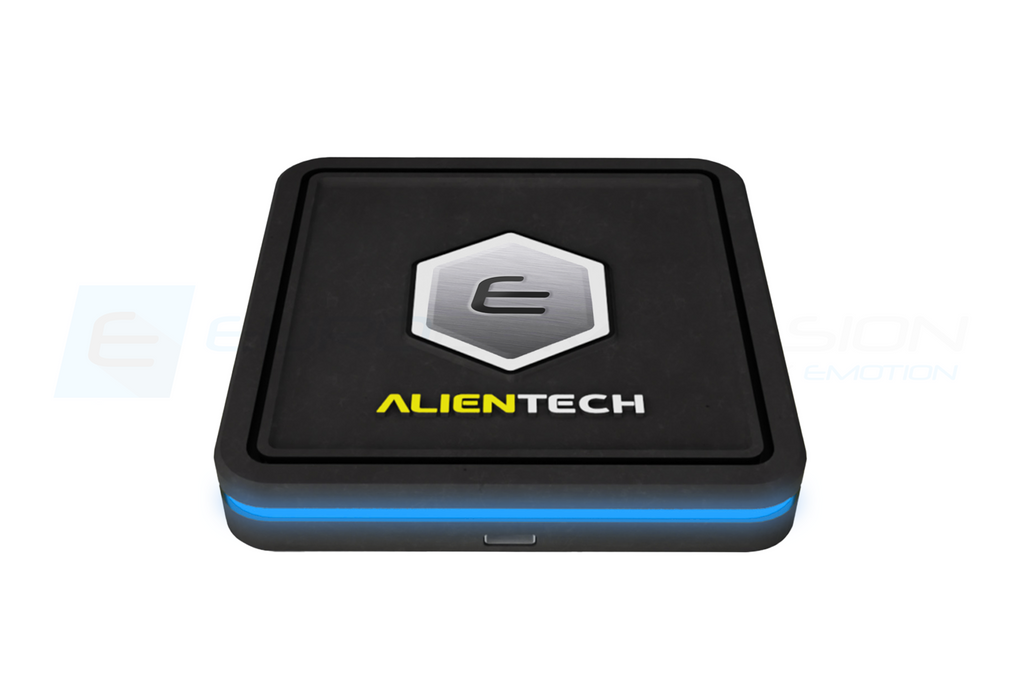


Introducing, the ALL NEW EURO+DRIVE 2.0 OBDII ECU Tuning System.
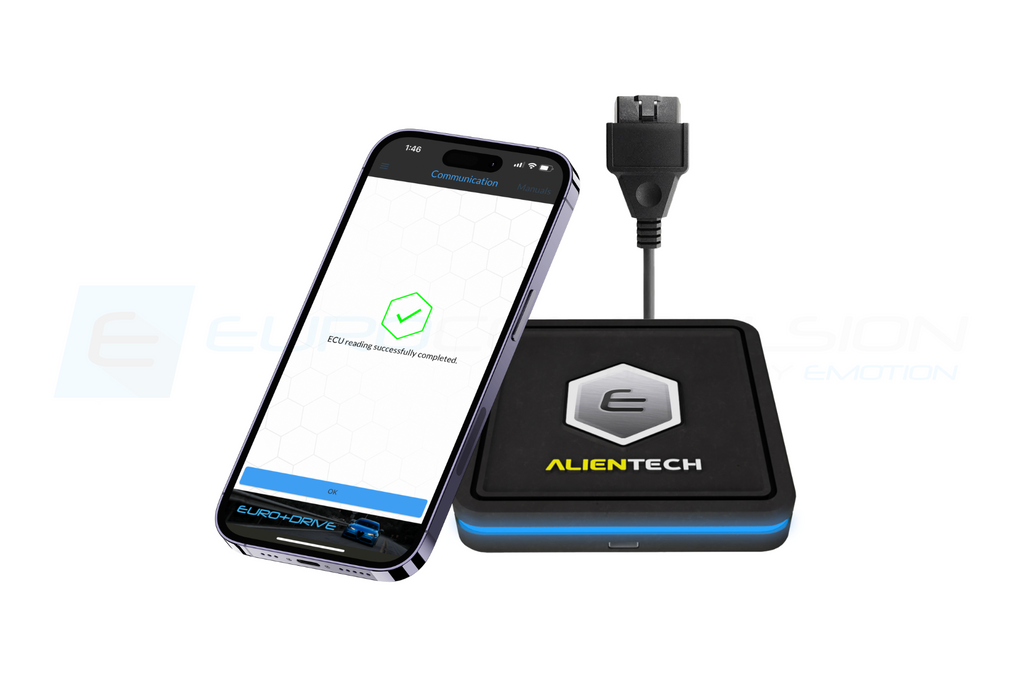
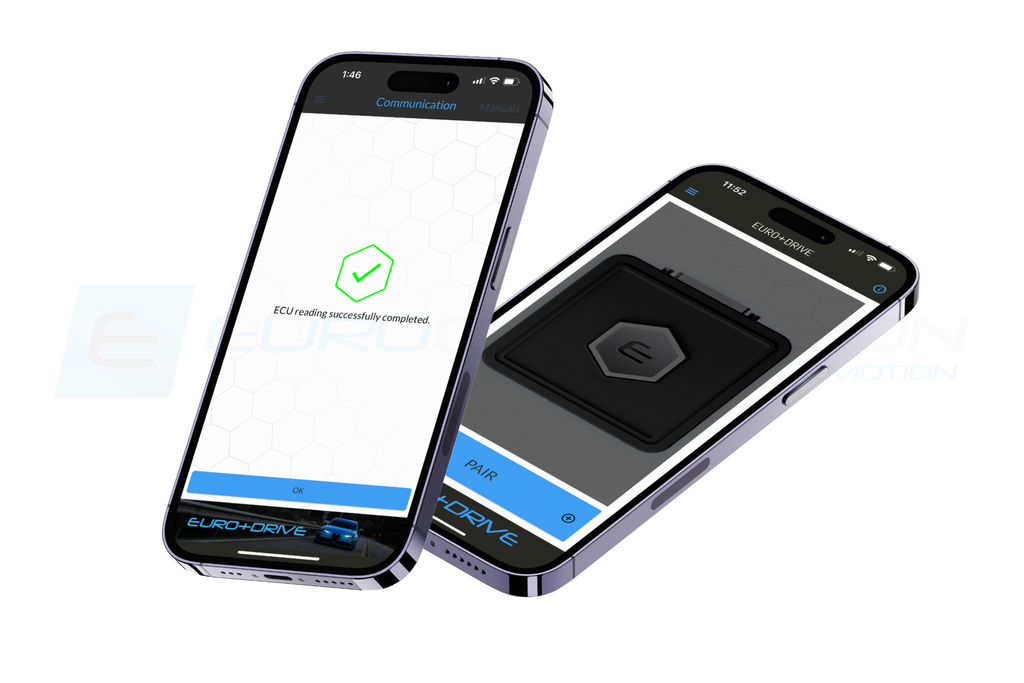
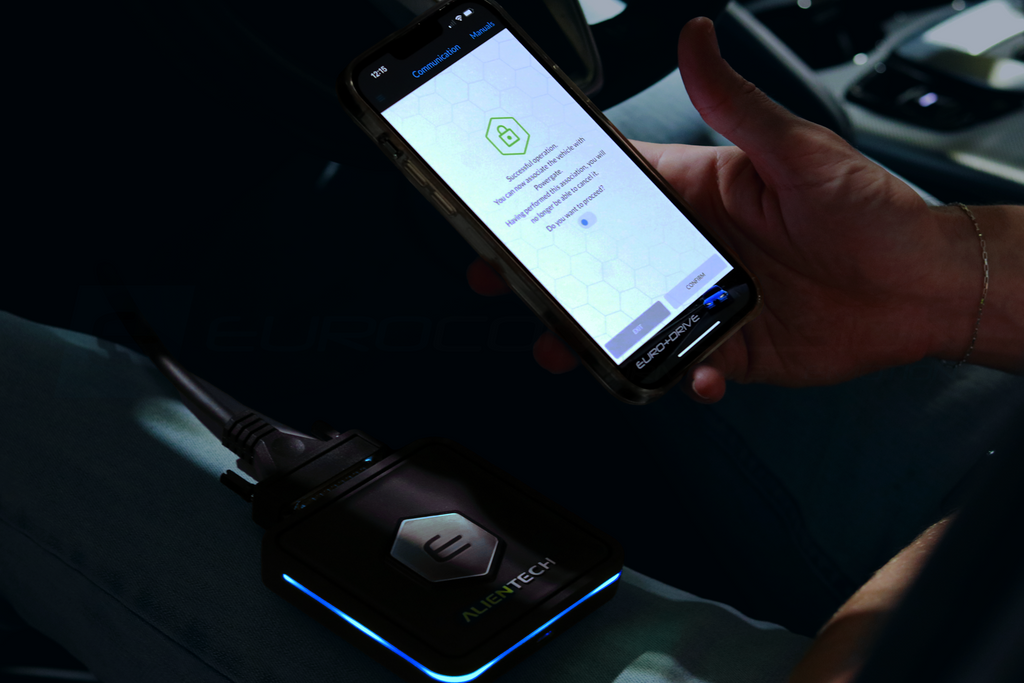
Adding performance to your vehicle has never been this simple. The EURO+DRIVE 2.0 Tuning System allows you to optimize and tune your ECU straight from your smartphone. No laptops or desktops required. Direct connection to the EUROCOMPULSION tuning cloud provides instant access to your tune files, requests, and ability to flash back to stock quickly for maintenance or dealer visits.
EUROCOMPULSION® is pleased to present the ultimate engine control unit (ECU) upgrade for the 500 Abarth and FIAT 500T. The EURO+DRIVE® Tuning system is available in power-specific variations and is conveniently flashed to the vehicle’s factory ECU through the OBD-II port without any physical modification to the factory ECU.
The EURO+DRIVE® functionality puts the control of the engine’s operation at your fingertips and allows for comprehensive tuning calibrations that do not only affect power output but drive-ability, throttle response, consistency and smooths overall power delivery.
EURO+DRIVE® TUNING FEATURES (INCLUDED):
- RAISED REV LIMITER
- RAISED SPEED LIMITER
- DOWNPIPE OPTIMIZATION
- PARK/NEUTRAL REV LIMITER REMOVAL (AUTO TRANS)
- POPS & BANGS (EXHAUST NOISE, CAT-BACK, AND HIGH-FLOW DOWNPIPE RECOMMENDED)
- BURBLES (EXHAUST NOISE, CAT-BACK, AND HIGH-FLOW DOWNPIPE RECOMMENDED. WILL POP AND BANG A BIT WITH THE STOCK DOWNPIPE)
- DUAL MAP MODE
EURO+DRIVE® CUSTOM TUNING FEATURES (ADDITIONAL CHARGES MAY APPLY):
- BIGGER TURBO
- ALTERNATIVE/HIGHER OCTANE FUEL OPTIMIZATION
- WATER/METHANOL OPTIMIZATION
FEATURES:
- - True OBD2 flash tuning/calibrations
- - Use of genuine OEM software, maps, and protocols
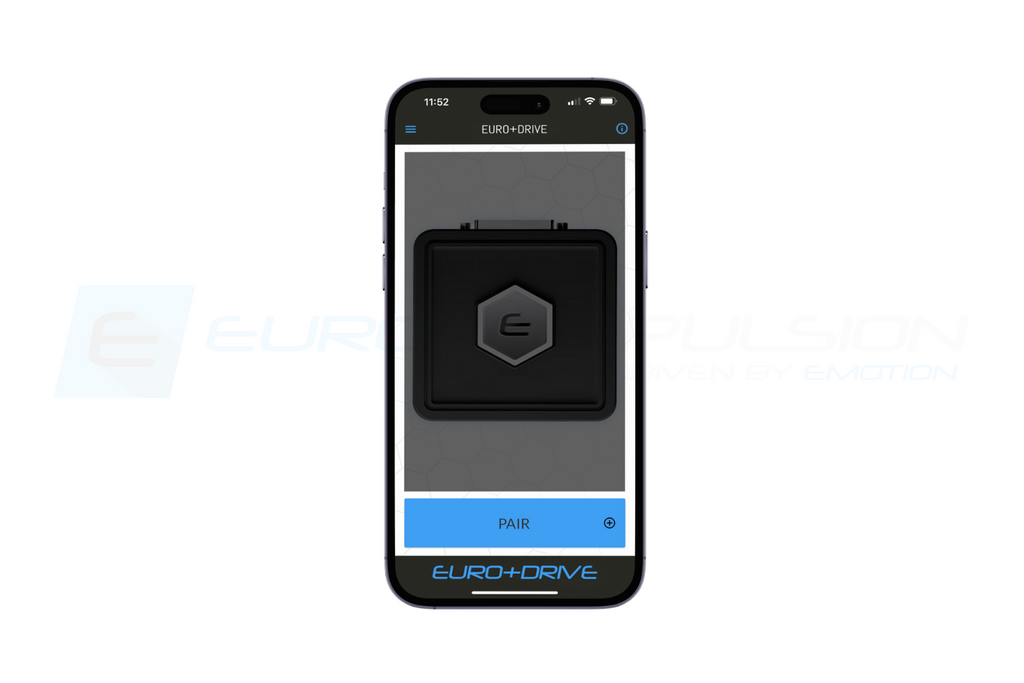
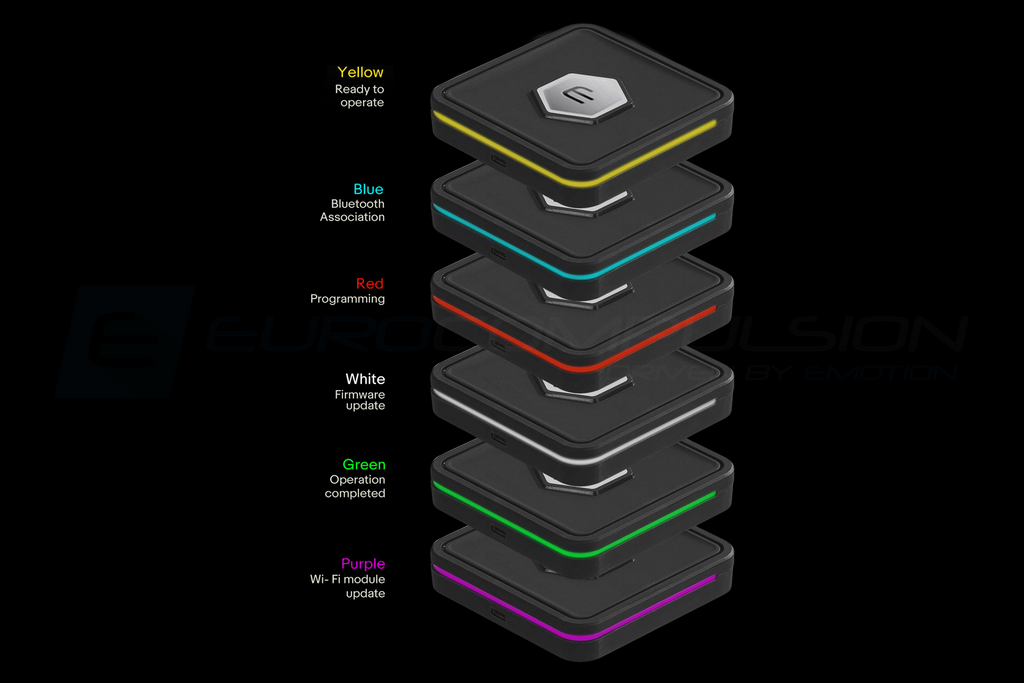
- - Simple user interface & Bluetooth/WIFI app control
- - Read and flash your ECU directly from your smartphone
- - ECU files are stored on our tuning cloud and accessible directly from your smartphone
- - Device can hold up to (4) maps, + your stock/OEM map
- - Scans, reads, and clears DTC / CEL codes
- - Each calibration is custom calibrated to your ECU specific file and VIN number
- - Calibrations will optimize power, drive-ability, and efficiency
- - Unparalleled consistent, linear, & smooth power delivery
- - Calibrations will retain OEM tuning logic (i.e. self-adaptation) and all safety checks
- - Flashing procedure is easy & safe
- - Flashing procedure protects against incomplete/incompatible flashes
- - All factory hardware works properly (including the factory ABARTH boost gauge)
- - The EURO+DRIVE® does not hack/manipulate or bypass the factory ECU
- - Full control over all engine parameters by utilizing true factory calibrations
- - Specially requested calibrations available (additional fees may apply)
- - 91 octane minimum fuel requirement
- - Calibrations are fine-tuned and custom-tailored for your existing modifications
- - EURO+DRIVE calibrations are Street/AutoX/Track proven
- - No physical removal of ECU is required
- - Calibrations delivered in 48-72 business hours
SEE OTHER TABS FOR ADDITIONAL INFO
INSTALLATION: HERE
EURO+DRIVE® TESTING & TECHNICAL INFO:
- - VEHICLE REQUIREMENTS
- - EURO+DRIVE® GENERAL SYSTEM INFO
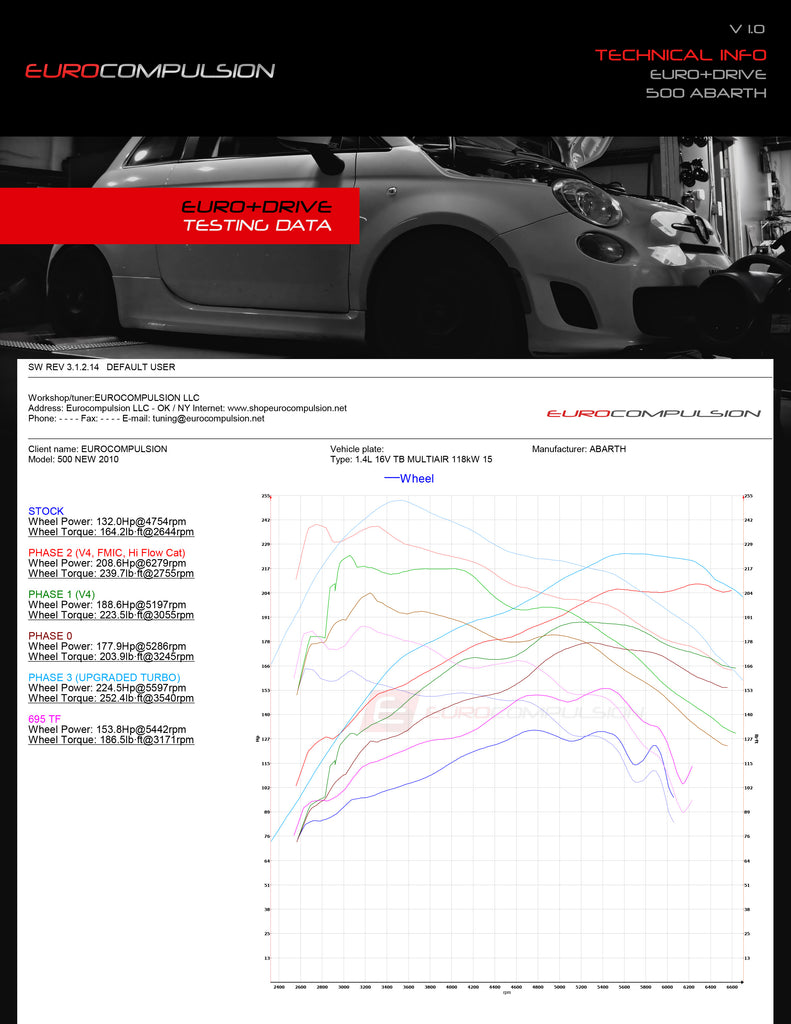
- - 500 ABARTH TESTING/DYNO CHARTS & INFO
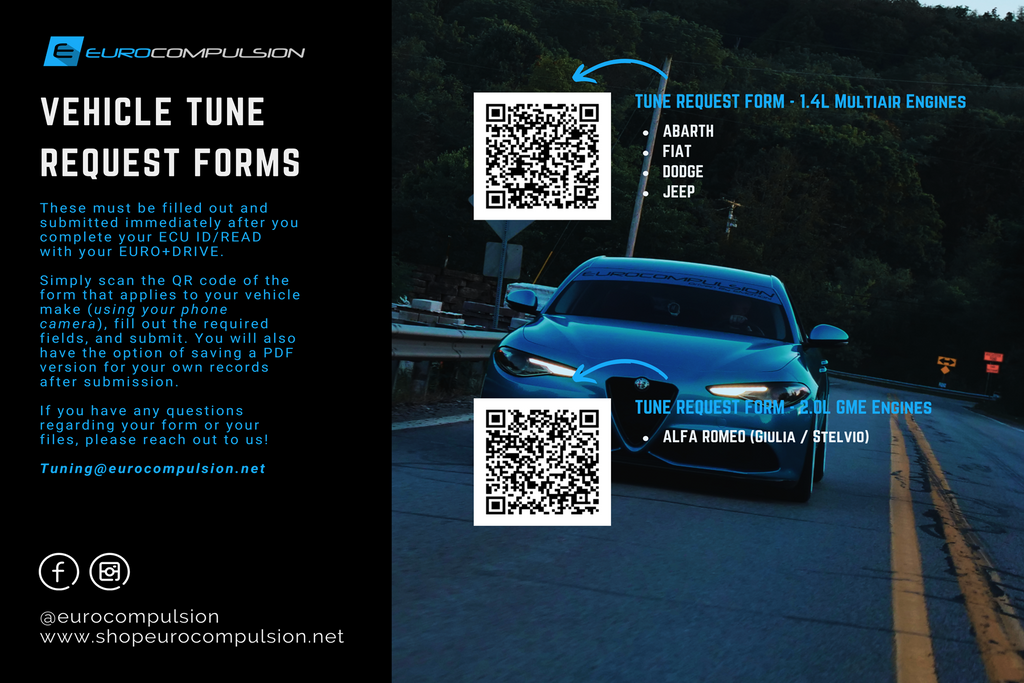
- - TUNE REQUEST FORMS
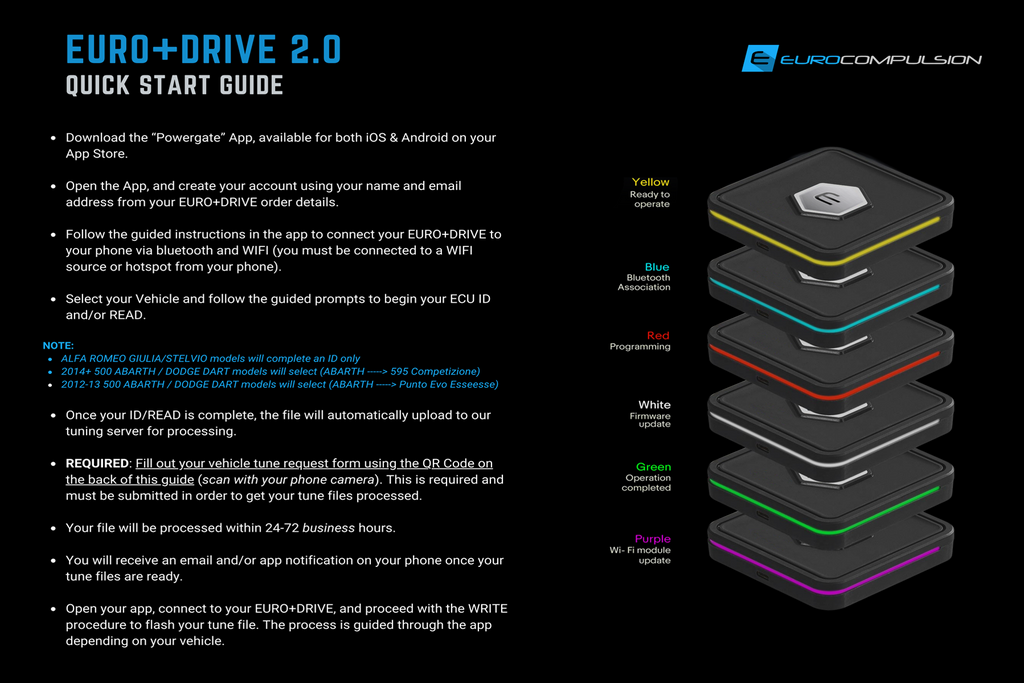
- - EURO+DRIVE / POWERGATE APP for iOS
- - EURO+DRIVE / POWERGATE APP for Android
EURO+DRIVE® MAP OUTPUTS (INCLUDED FILES):
- ~132.0 WHP STOCK
- ~153.8 WHP 695 F.T.
- ~177.9 WHP PHASE 0
- ~188.6 WHP PHASE 1
- ~208.6 WHP PHASE 2
- ~224.5 WHP PHASE 2 BIGGER TURBO (EC 1446+ TURBO UPGRADE)
- ~PHASE 3 w/E85 or 91/93 OCTANE (Bigger Injectors): This map is designed for those that would like to run an upgraded turbo, but want to extract the most power out of the car. To do so, bigger injectors are required for the full performance of this map and an additional charge for this map will be required. DRAGY and Drag Strip times for this are below.
*After extensive development and testing on Phase 3 and an upgraded turbo on the 124 and 500 Abarth, we determined that to proceed with higher power numbers, the car needs larger injectors. We are moving forward with the use of both E85 and pump gas on the ATP larger injectors (550cc).
In the future, customers will receive a Big Turbo Tune (Phase 2 Big Turbo) with the purchase of our larger turbo. This will be designed for the stock injectors. We will also offer a free optimization for E85 or pump gas with the purchase of the ATP injectors from us.
The full Phase 3 tune will be available to EURO+DRIVE customers for a fee, for those that want the max power and have our bigger injectors.*
Please see your make/model on the Tuning Requirements Page to know what mods are required to run each Phase tune.
EURO+DRIVE® TUNING FEATURES (INCLUDED):
- RAISED REV LIMITER
- RAISED SPEED LIMITER
- CATTED DOWNPIPE / CATLESS DOWNPIPE OPTIMIZATION
- PARK/NEUTRAL REV LIMITER REMOVAL (AUTO TRANS)
- LAUNCH CONTROL (MANUAL TRANS ONLY)
- POPS & BANGS (EXHAUST NOISE)
- BURBLES (EXHAUST NOISE)
- DUAL MAP MODE
EURO+DRIVE® CUSTOM TUNING FEATURES (ADDITIONAL CHARGES MAY APPLY):
- BIGGER TURBO
- E85 OPTIMIZATION
- ALTERNATIVE/HIGHER OCTANE FUEL OPTMIZATION
- WATER/METHANOL OPTIMIZATION
------------------------------------------------------------------
SUPPORTED YEARS:
- 2012 - AVAILABLE
- 2013 - AVAILABLE
- 2014 - AVAILABLE
- 2015 - AVAILABLE
- 2016 - AVAILABLE
- 2017 - AVAILABLE
- 2018 - AVAILABLE
- 2019 - AVAILABLE (Includes New Fiat 500 Turbo Models)
- 2020 - AVAILABLE (Includes New Fiat 500 Turbo Models)


Eurocompulsion cannot guarantee the success or stated power gains while using modifications not tested in house or recommended. When testing results, always follow proper dyno procedures, use appropriate fuel, and compare to vehicle specific stock deltas. Eurocompulsion is not responsible for damage caused by or incurred by other modifications or user error/installation error by user or third party. End user is responsible for all unlock fees should they be incurred due to: dealership flash over of tune file prior to flashing back to stock, user error in use of the handheld, or user reset of the handheld without authorization of Eurocompulsion. Off-Road & Race Use Only. “Not legal for sale for, or use on, pollution-controlled vehicles.” “Legal only for racing vehicles which may never be used upon a highway. Not applicable or intended for street or highway use.”
The EURO+DRIVE handheld can be reset and memory erased remotely by EUROCOMPULSION so that you can transfer to another owner or another vehicle. However, failure to flash your ECU back to stock prior to selling your vehicle, selling your handheld, or bringing your car into the dealership for maintenance will lock your handheld and prevent a memory erase from being executed. In this case, you will be forced to purchase a replacement handheld or unlock credit for $399, no exceptions.