
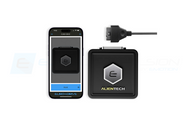
The following contains instructions on how to flash the ECU on your 500 Abarth using our EURO+DRIVE tuning handheld.
Vehicle Application for these Instructions:
- Fiat 500 Abarth (8GMF/8GMW ECU) 2012 - 2013
FIRST STEPS:
- Familiarize yourself with the instructions before starting.
- Activate your account on the EURO+DRIVE Online Portal. This is where you will upload your ECU files and receive tune files. After purchase, someone from the Tuning Department will set up your account on the portal using the email you provided at the time of purchase. You will receive a first time login notification at this email address. Simply open this email, click the link, and setup your account.
- Make sure you have downloaded the EURO+DRIVE Manager application for PC. This can be found in the instructions folder on the Online Portal, which you have access to. You will need this application to connect your handheld to your computer, and download/upload files to and from the handheld. (This application is only compatible with PC devices).
- Things you may need: OBDII connection cable, EURO+DRIVE handheld, and USB to handheld cable (all provided in package).
- Installation Tips: Don't Rush! Always allow 5-10 seconds or more between key ON and OFF prompts before confirming.
The EURO+DRIVE handheld can easily be reset and memory erased so that you can transfer to another owner or another vehicle. However, failure to flash your ECU back to stock prior to selling your vehicle, selling your handheld, or bringing your car into the dealership for maintenance will lock your handheld and prevent a memory erase from being executed. In this case, you will be forced to send back your handheld and purchase a replacement handheld for $300, no exceptions.
Never click the "Erase data" tab without being instructed to do so by someone from our tuning department.
INSTALLATION:
- Once you have received your handheld, and also have installed the EURO+DRIVE manager, connect the handheld to your PC, and open the manager software. The handheld will automatically update.

- Once the updating is complete, you are ready to disconnect and go out to your vehicle.
- If your car has been sitting or the battery has been disconnected for a while be sure your battery voltage is above 12.5 Volts. We suggest either hooking up a battery tender the day before reading the car or driving the car for about 30 minutes to ensure the battery is properly charged. This is usually only necessary for cars that have been sitting and are not driven regularly. DO NOT HAVE A BATTERY TENDER HOOKED UP DURING THE READING OR WRITING PROCESS.
- If you have any aftermarket electronic items, like a larger sub or light kits, connected to ignition power or hot power it may be wise to disconnect them during these procedures. This will help avoid voltage drop issues.
- Now begins the reading process.
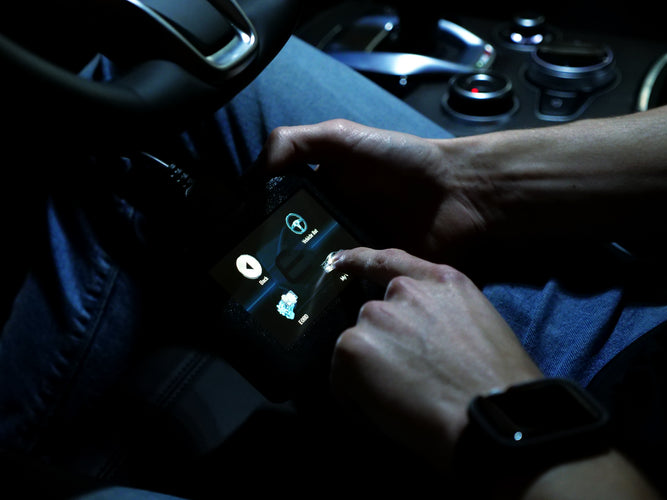
Step 1 - Connect the provided OBDII cable to your handheld. Ensure you have a solid connection. Then connect the cable to your OBDII port within the vehicle.
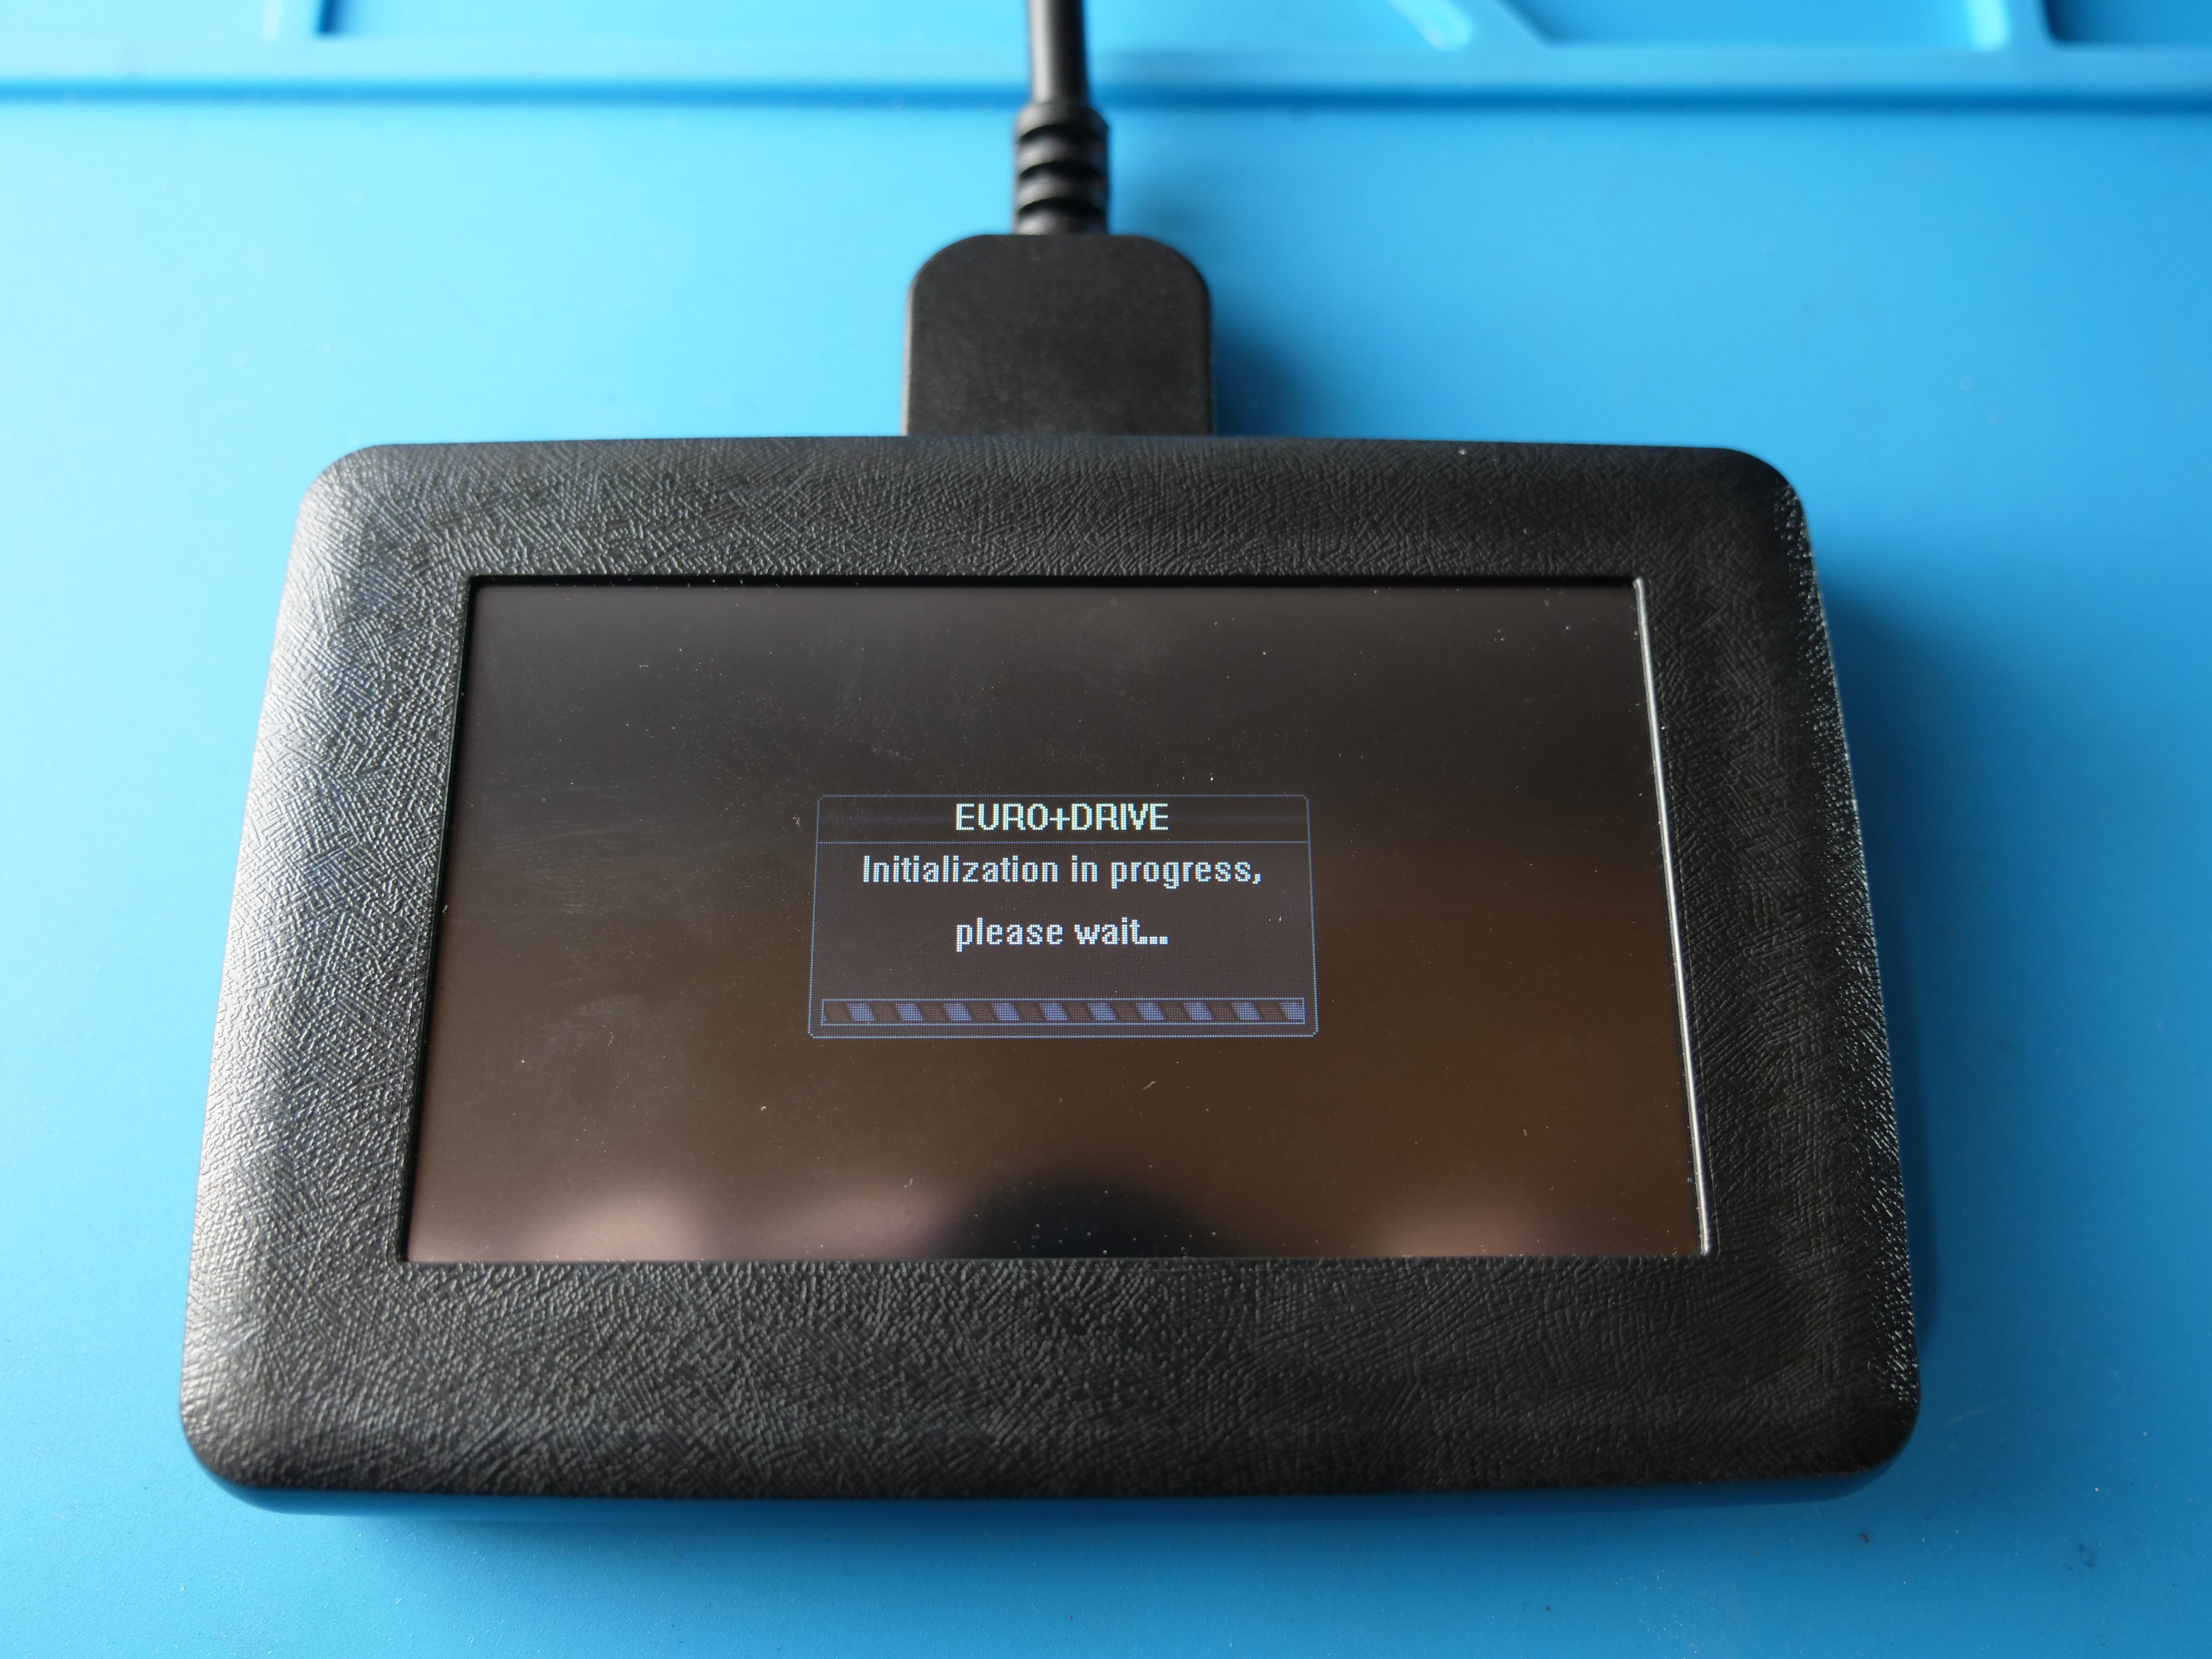
Step 2- Once the EURO+DRIVE screen is powered up, select the tuning button. See Picture below.

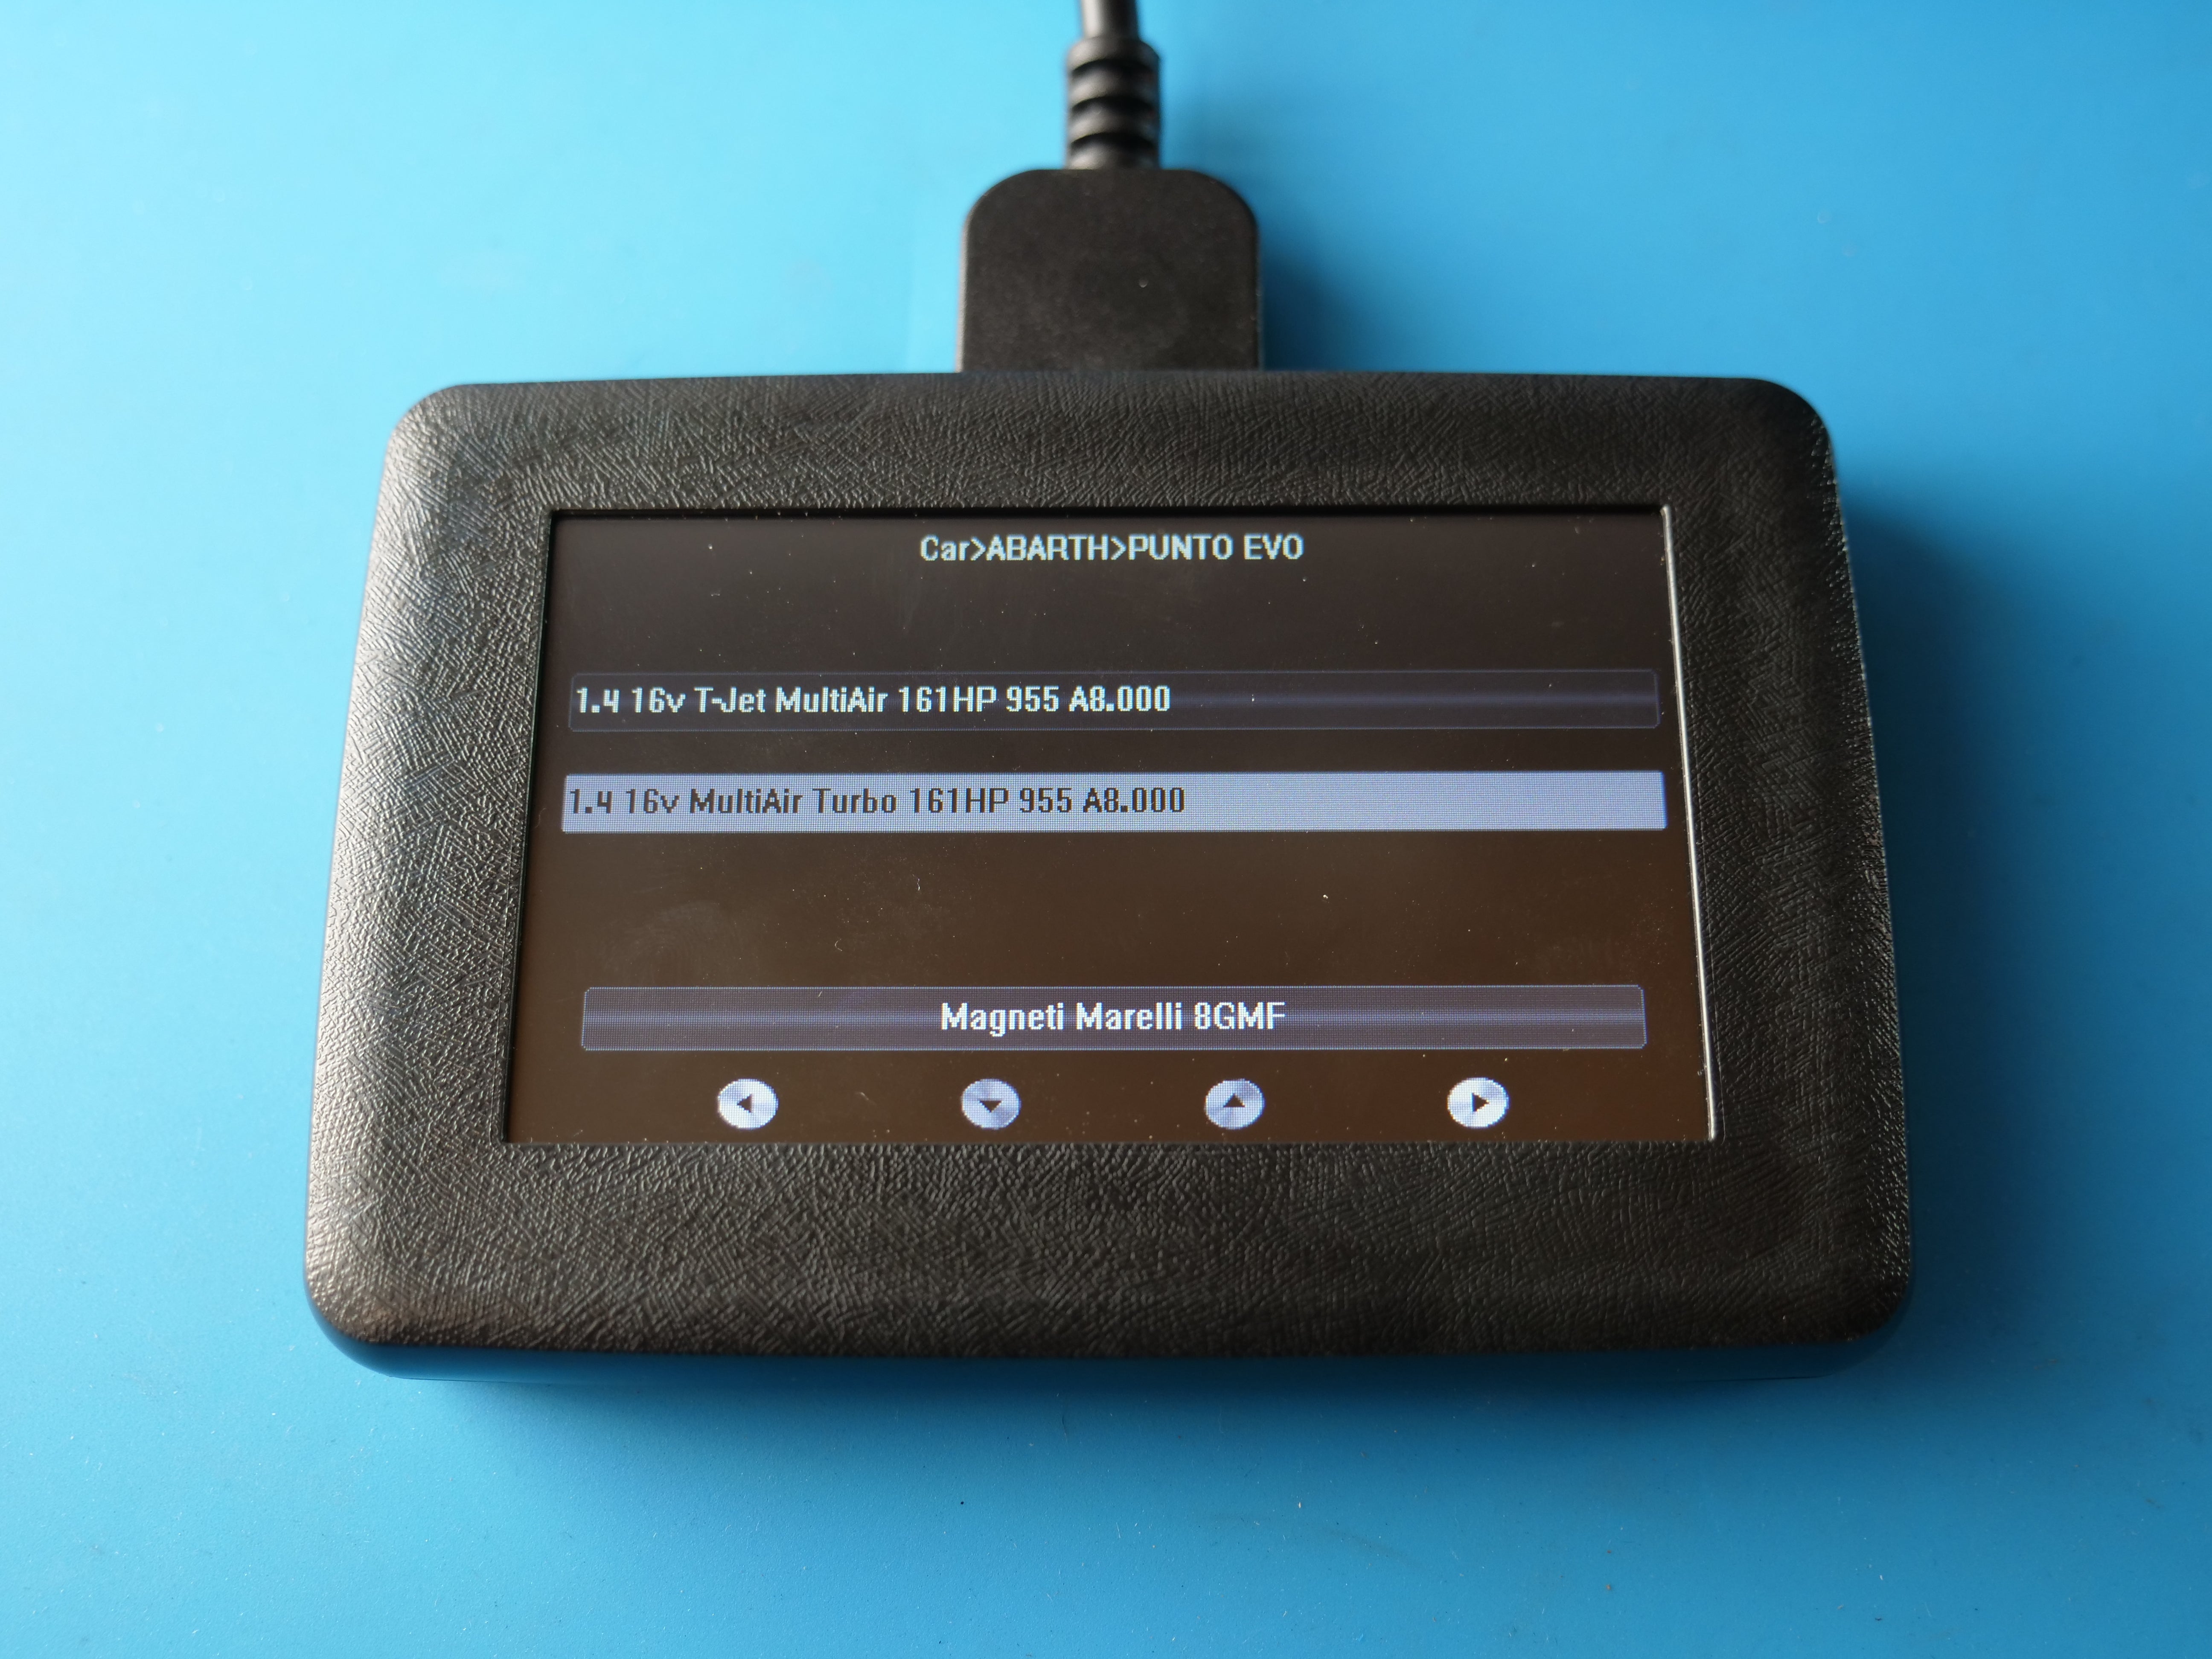
Step 3 -Select your brand (ABARTH). See Picture below.

- Select model (in the case of a 2012 or 2013 500 Abarth/500T, you will select "PUNTO EVO"). See Picture below.
Step 4 -Push the DOWN arrow to find your selection.

Step 5 - Once highlighted, push the RIGHT arrow to make your selection. See Picture below.

Step 6 - Select your engine and ECU model (shown below). Push the RIGHT arrow to confirm your selections. See Picture below.
Step 7 - Follow the prompts. Turn on the ignition power (NOTE: Key on and confirm means turn to Ignition power position. DO NOT START THE ENGINE when requested to "Key on and confirm".), When asked to "Key on and confirm." be sure to wait 5-10 seconds after turning on ignition before hitting OK to ensure all modules are powered for proper communication. Select OK. See Pictures below.


Step 8 - EURO+DRIVE will ask if you would like to begin reading the ECU. Select "YES" and continue. See Picture below.
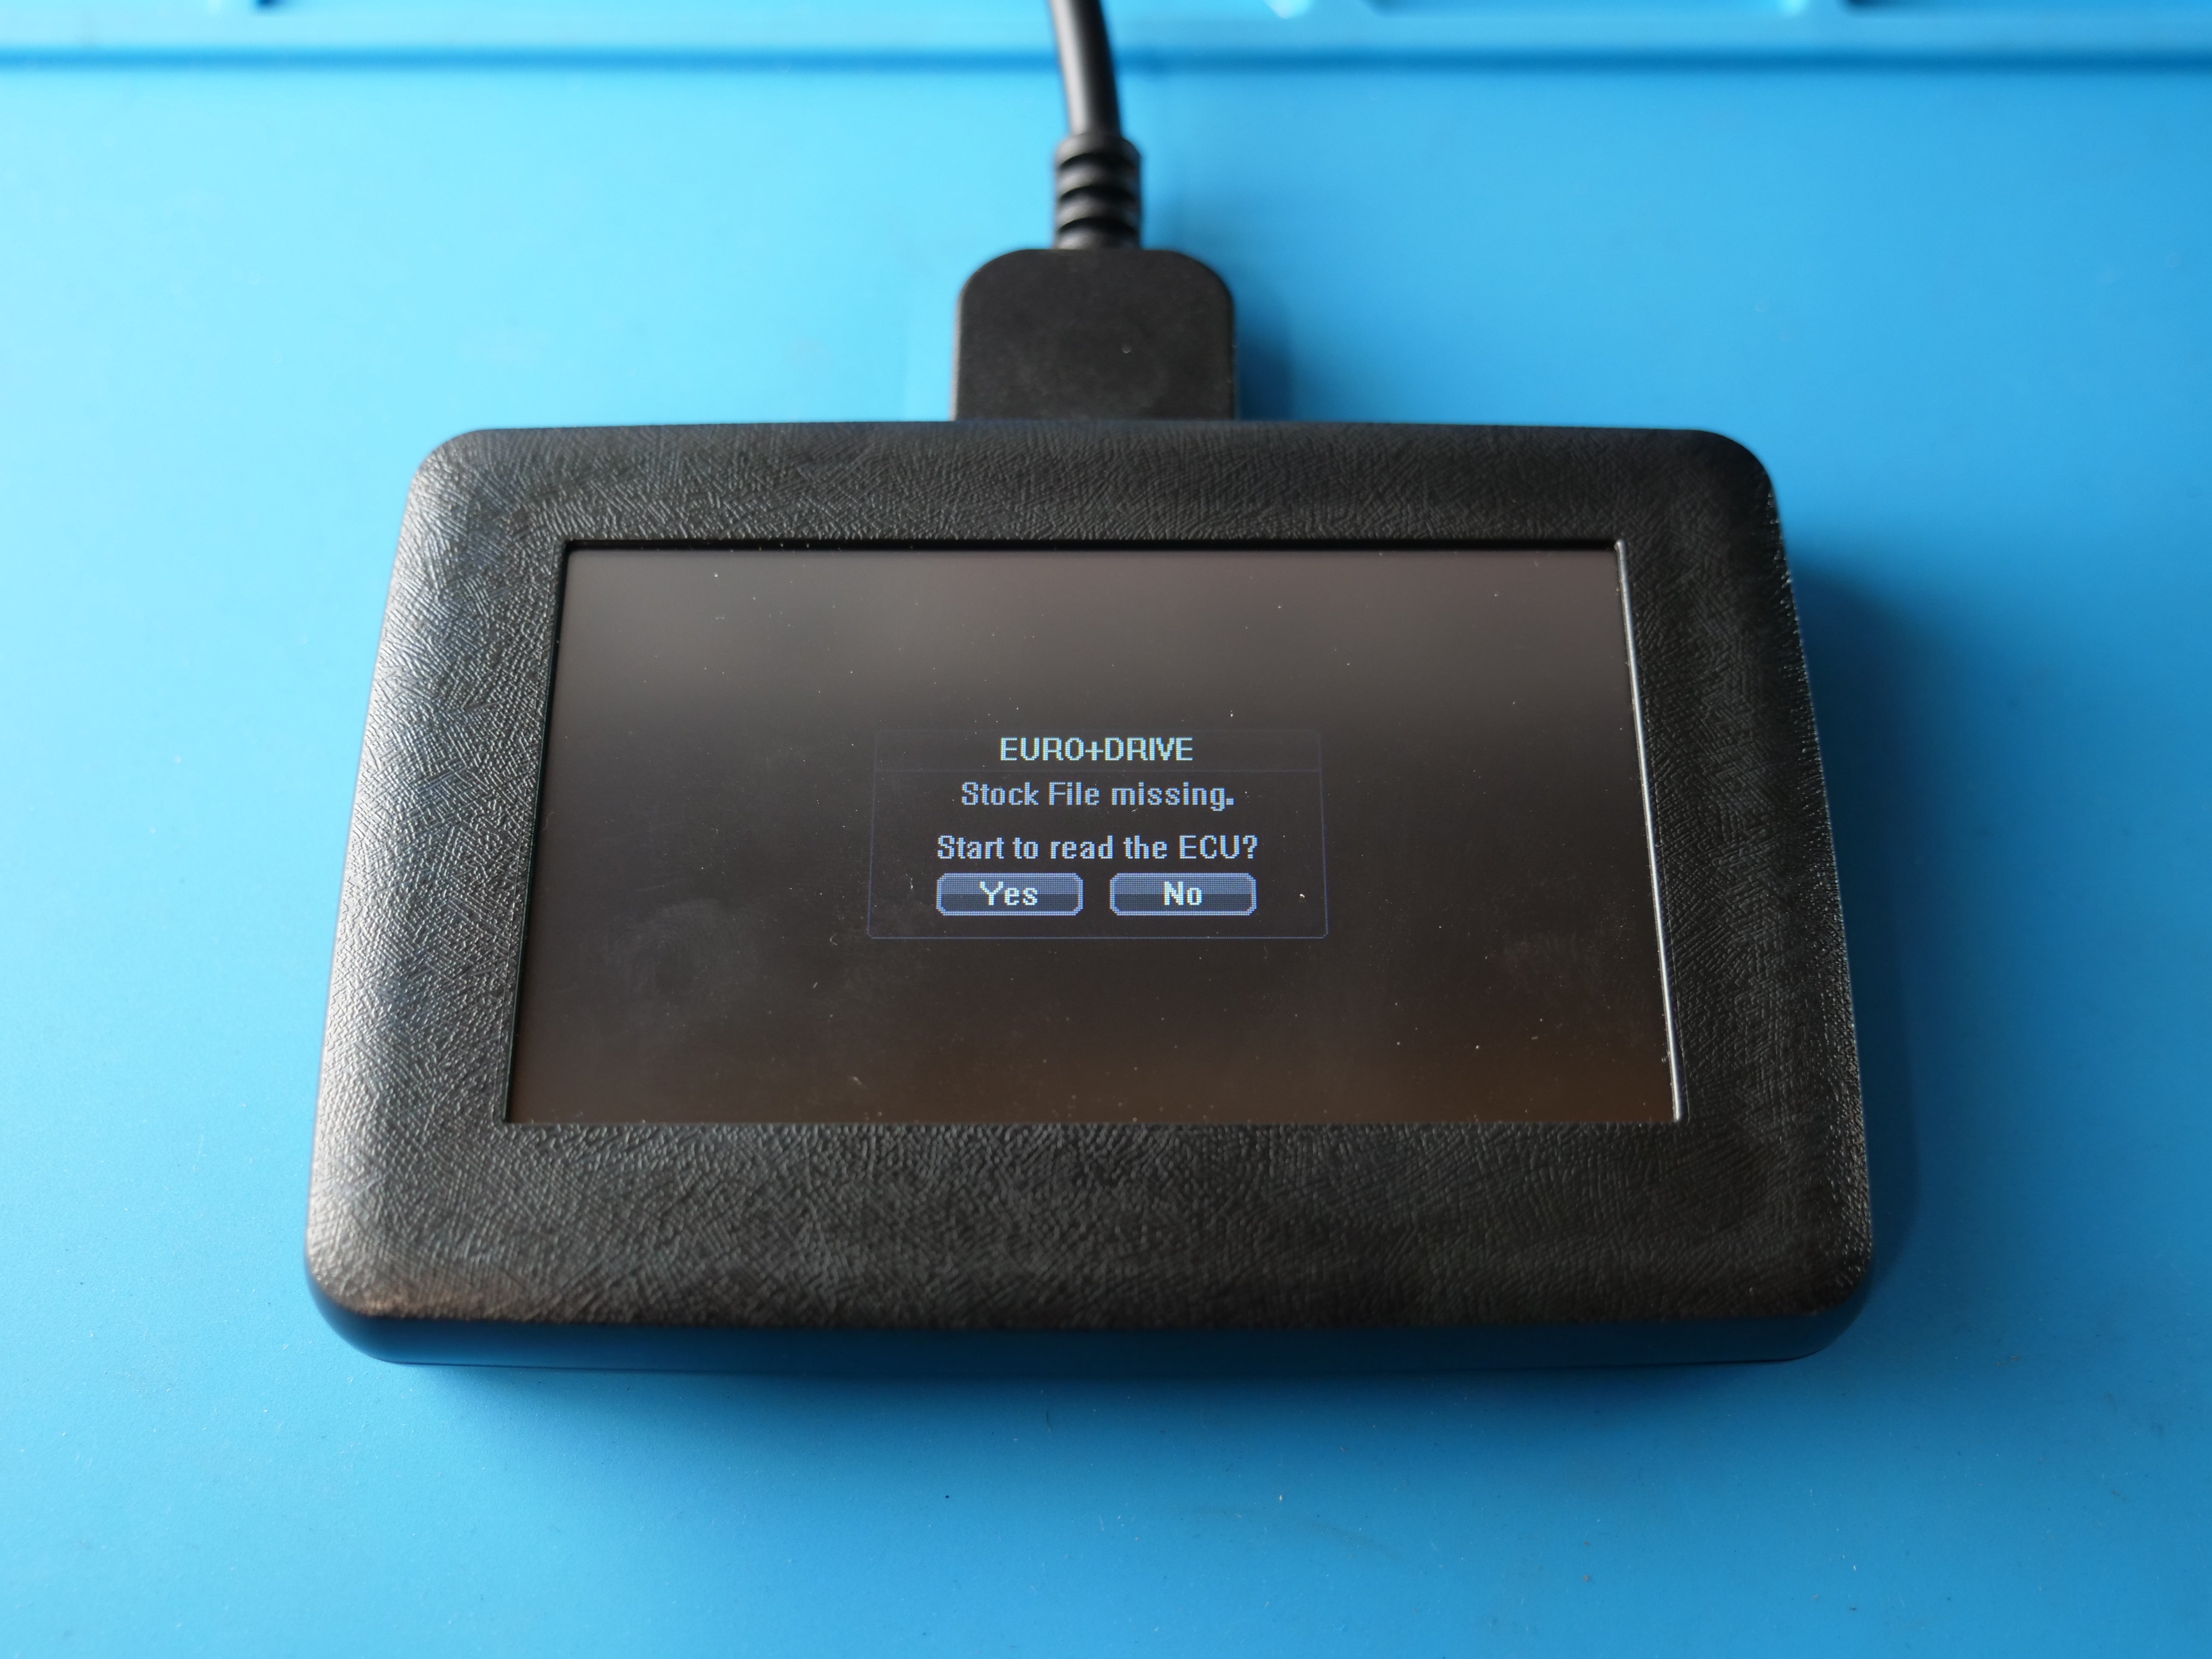
- EURO+DRIVE will begin reading the ECU file.

Step 9 - Once the read is complete, turn the ignition off as instructed. Select OK, and once at the main menu, disconnect from your vehicle. See Picture below.

Step 10 - Take your handheld and connect to your computer or PC device. Open the EURO+DRIVE manager.
Step 11 - Once connected, select "DOWNLOAD DATA" from the manager menu on the left hand side.

Step 12 - Select the "START" button to begin downloading your ECU read file from the handheld. See Pictures below.


Step 13 - Once the file download is complete, select the folder location on your computer where you would like to save the file (someplace you will remember). The file should be titled similar to what you see below, but with your first and last name. This will help us in file identification. See Picture below.

Step 14 - After the file is saved, open your web browser and go to the EURO+DRIVE Online Portal. Login to your account. See Picture below.

Step 15 - Once logged in, use the upload button (+) to upload your file. This plus button will only show up when you're in your personal folder with your name that we shared with you.
Once uploaded we will receive a notification for the file upload, and begin creating your tune files. Please allow for 24-72 business hours to receive your tune files back, depending on our current volume of customers.
To speed up this process, please ensure you are also uploading your tune request forms at the same time with all modifications listed, and any requested add ons you may have purchased with your system.

Step 16 - Once your tuning file has been uploaded, you will receive an email notification from the online portal. Download the tuning file to your computer. Once the file download is complete, select the folder location on your computer where you would like to save the file (some place you will remember).
- The tuning file format is a .USR file. This is a single zip file, but will contain all tune files and your Original file (needed to flash back to stock). These will display on the handheld screen when you go to flash the car. Only this one file needs to be loaded to the handheld in order for you to flash your ECU. The title will appear similar to what you see below.

Step 17 - Plug your handheld into the computer, open the EURO+DRIVE manager, and once connected to the handheld select "UPLOAD DATA" from the manager menu on the left. See Picture below.

Step 18 - Select the "START" button, and select the tune file you downloaded from the portal. See Pictures below.


Step 19 - Once the tune file is loaded to the handheld, you may now proceed to your vehicle and connect to the OBDII port. Once the main menu appears, select "TUNING". See Pictures below.

Step 20 - The EURO+DRIVE will ask if you are ready to write the file. Select "YES". See Picture below.

Step 21 - The EURO+DRIVE will now display all tune files stored on the device. Select the map you would like to flash to your ECU, and press the RIGHT arrow to proceed. See Pictures below.
The original file stored in the handheld is the stock file from your vehicle. In order to flash back to stock, follow this same process but select ORIGINAL from the list.


Step 22 - Turn on the ignition power, and press OK to continue. Remember to allow 5-10 seconds after turning on ignition before confirming the Key on request. This prevents miscommunications. See Pictures below.


- The tune file will now begin writing to the ECU. DO NOT disconnect the handheld for any reason.

- During the writing process, it is normal to see error messages on the dash or instrument cluster during the file transfer. These will not remain once the process is complete.

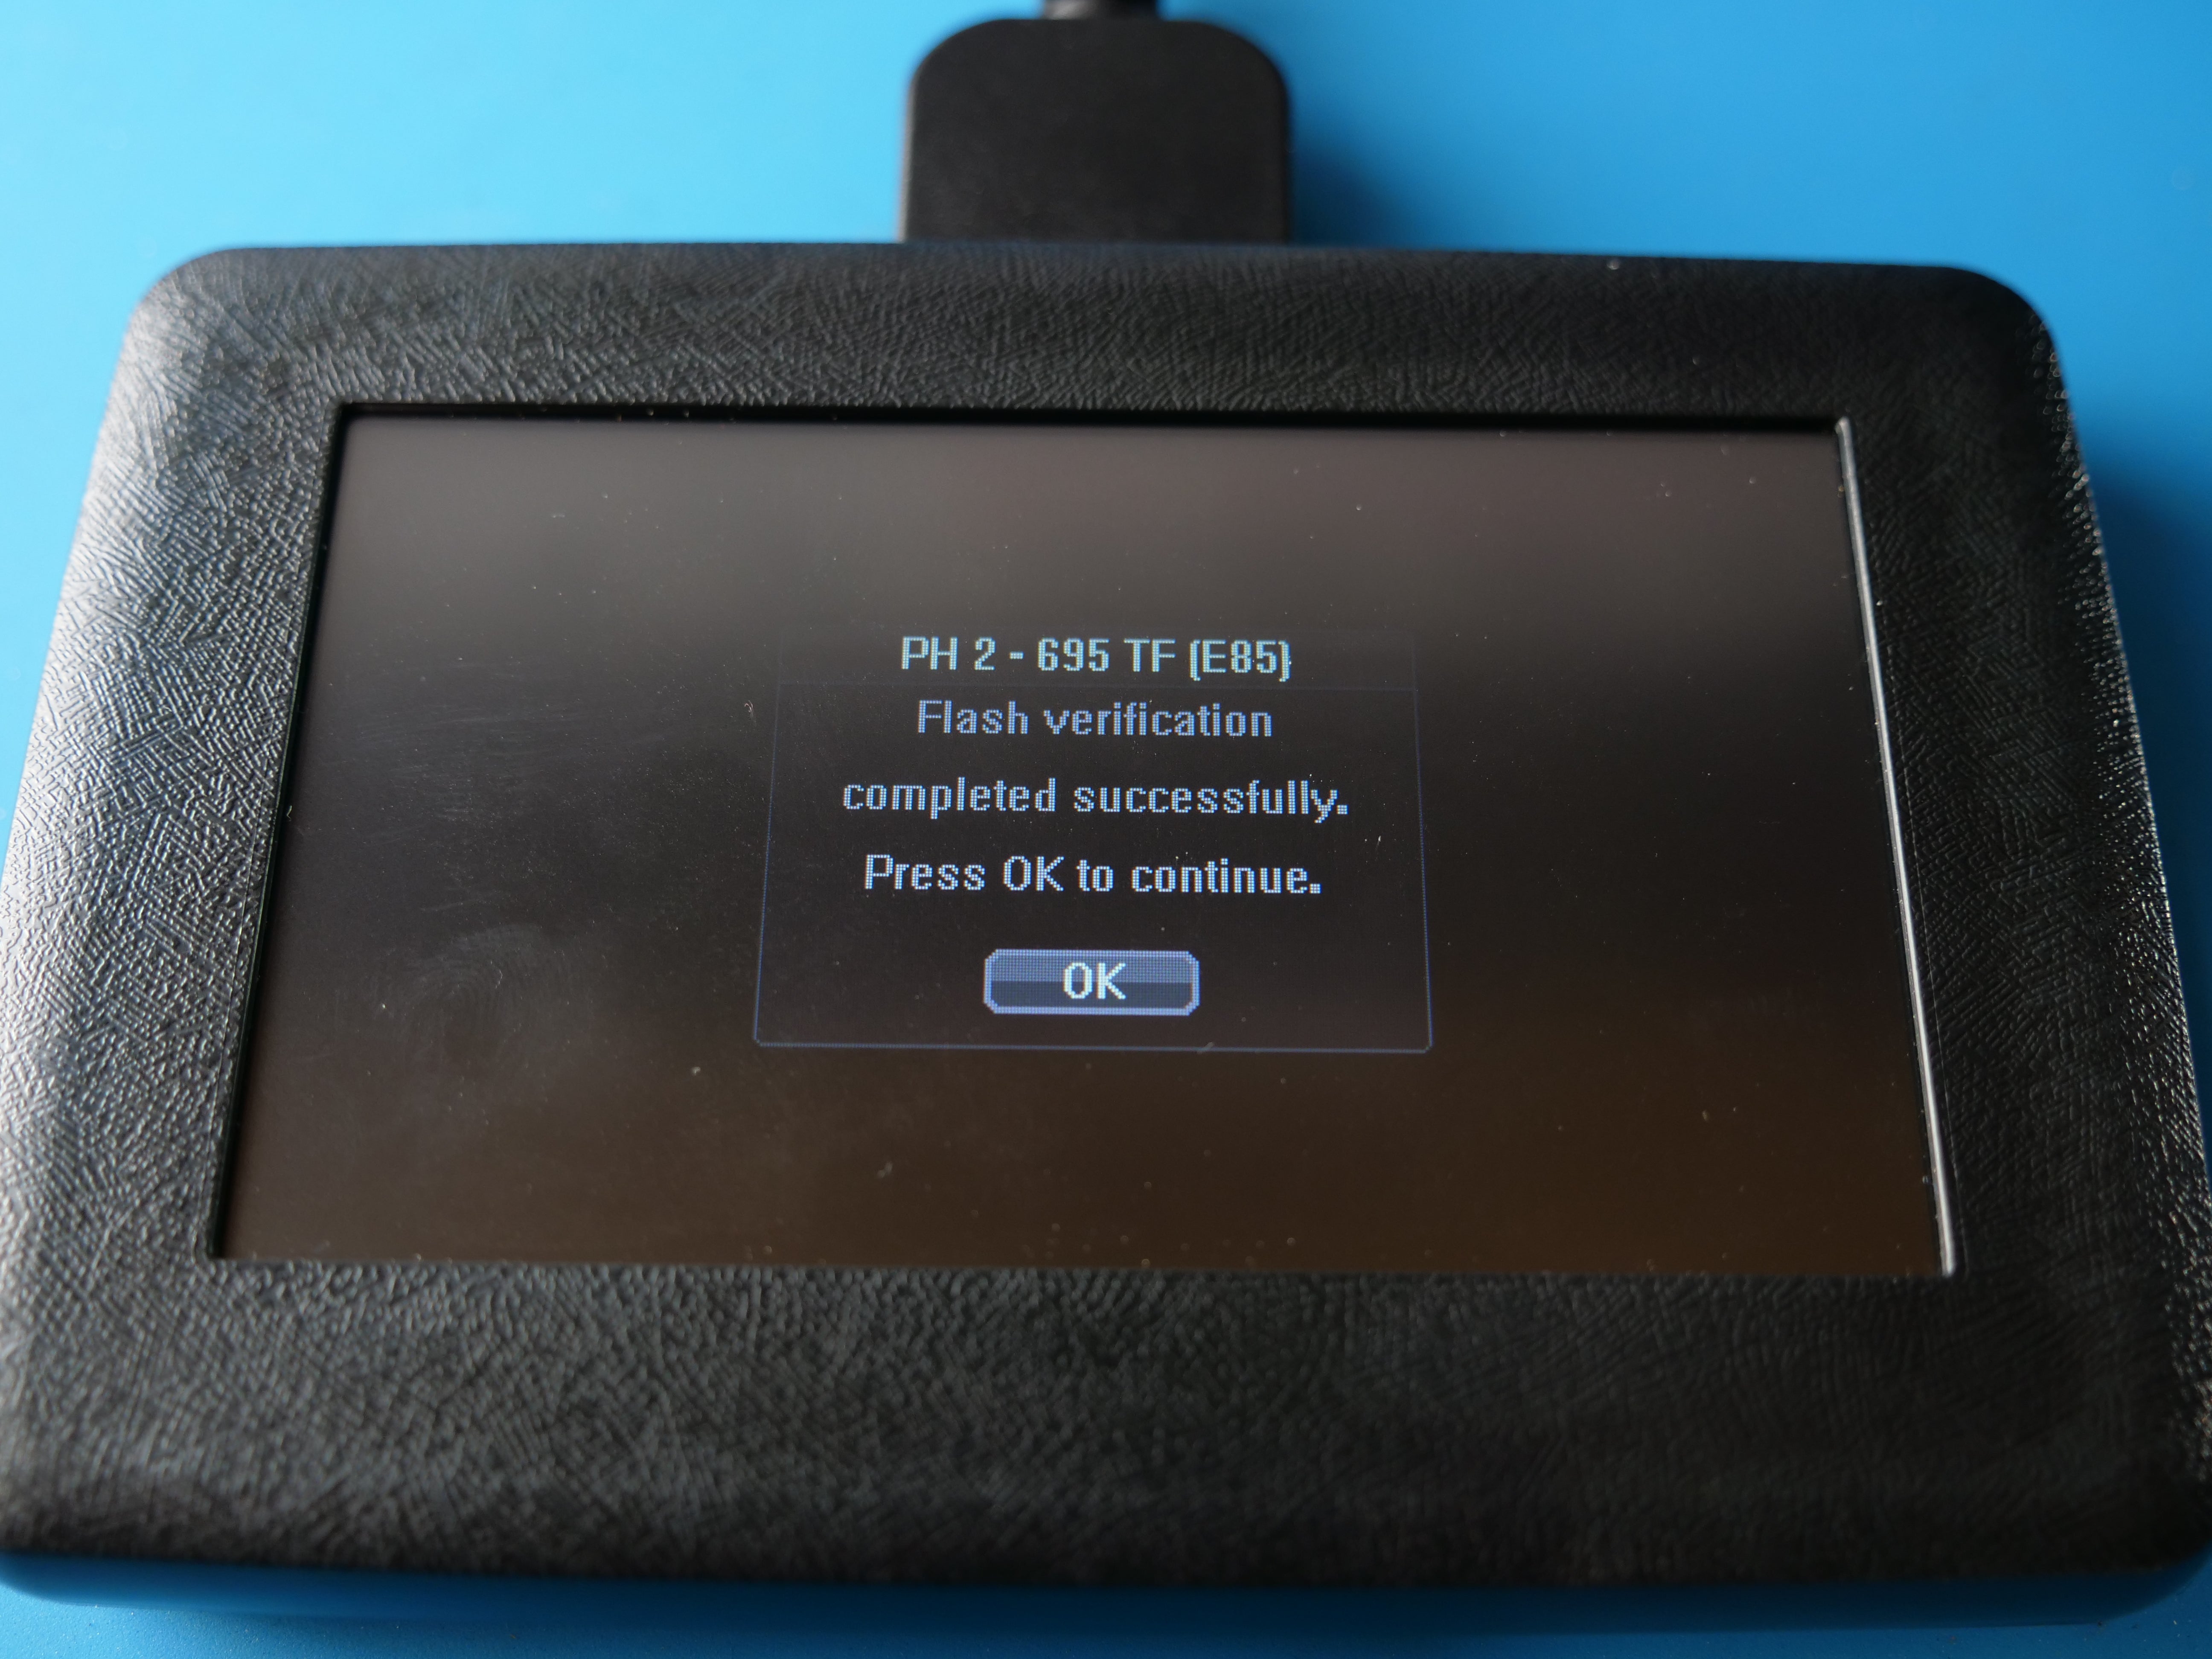
Step 23 - Once the write process completes, you will see this message. Press OK. See Picture below.
Step 24 - Turn the ignition off, and press OK. See Pictures below.


Step 25 - Select "NO" since all 2012-2013 500 Abarths or 500T's are manuals. See Picture below.

Step 26 - Turn on the ignition, and press OK. See Picture below.

Step 27 - Depress your clutch pedal, and then release. Then press OK. See Picture below.

Step 28 - Turn off the ignition, then press OK. See Picture below.

Step 29 - Turn on the ignition and press OK. See Picture below.

Step 30 - Turn off the ignition, and press OK. See Picture below.

Step 31 - Turn on the ignition, and press OK. See Picture below.

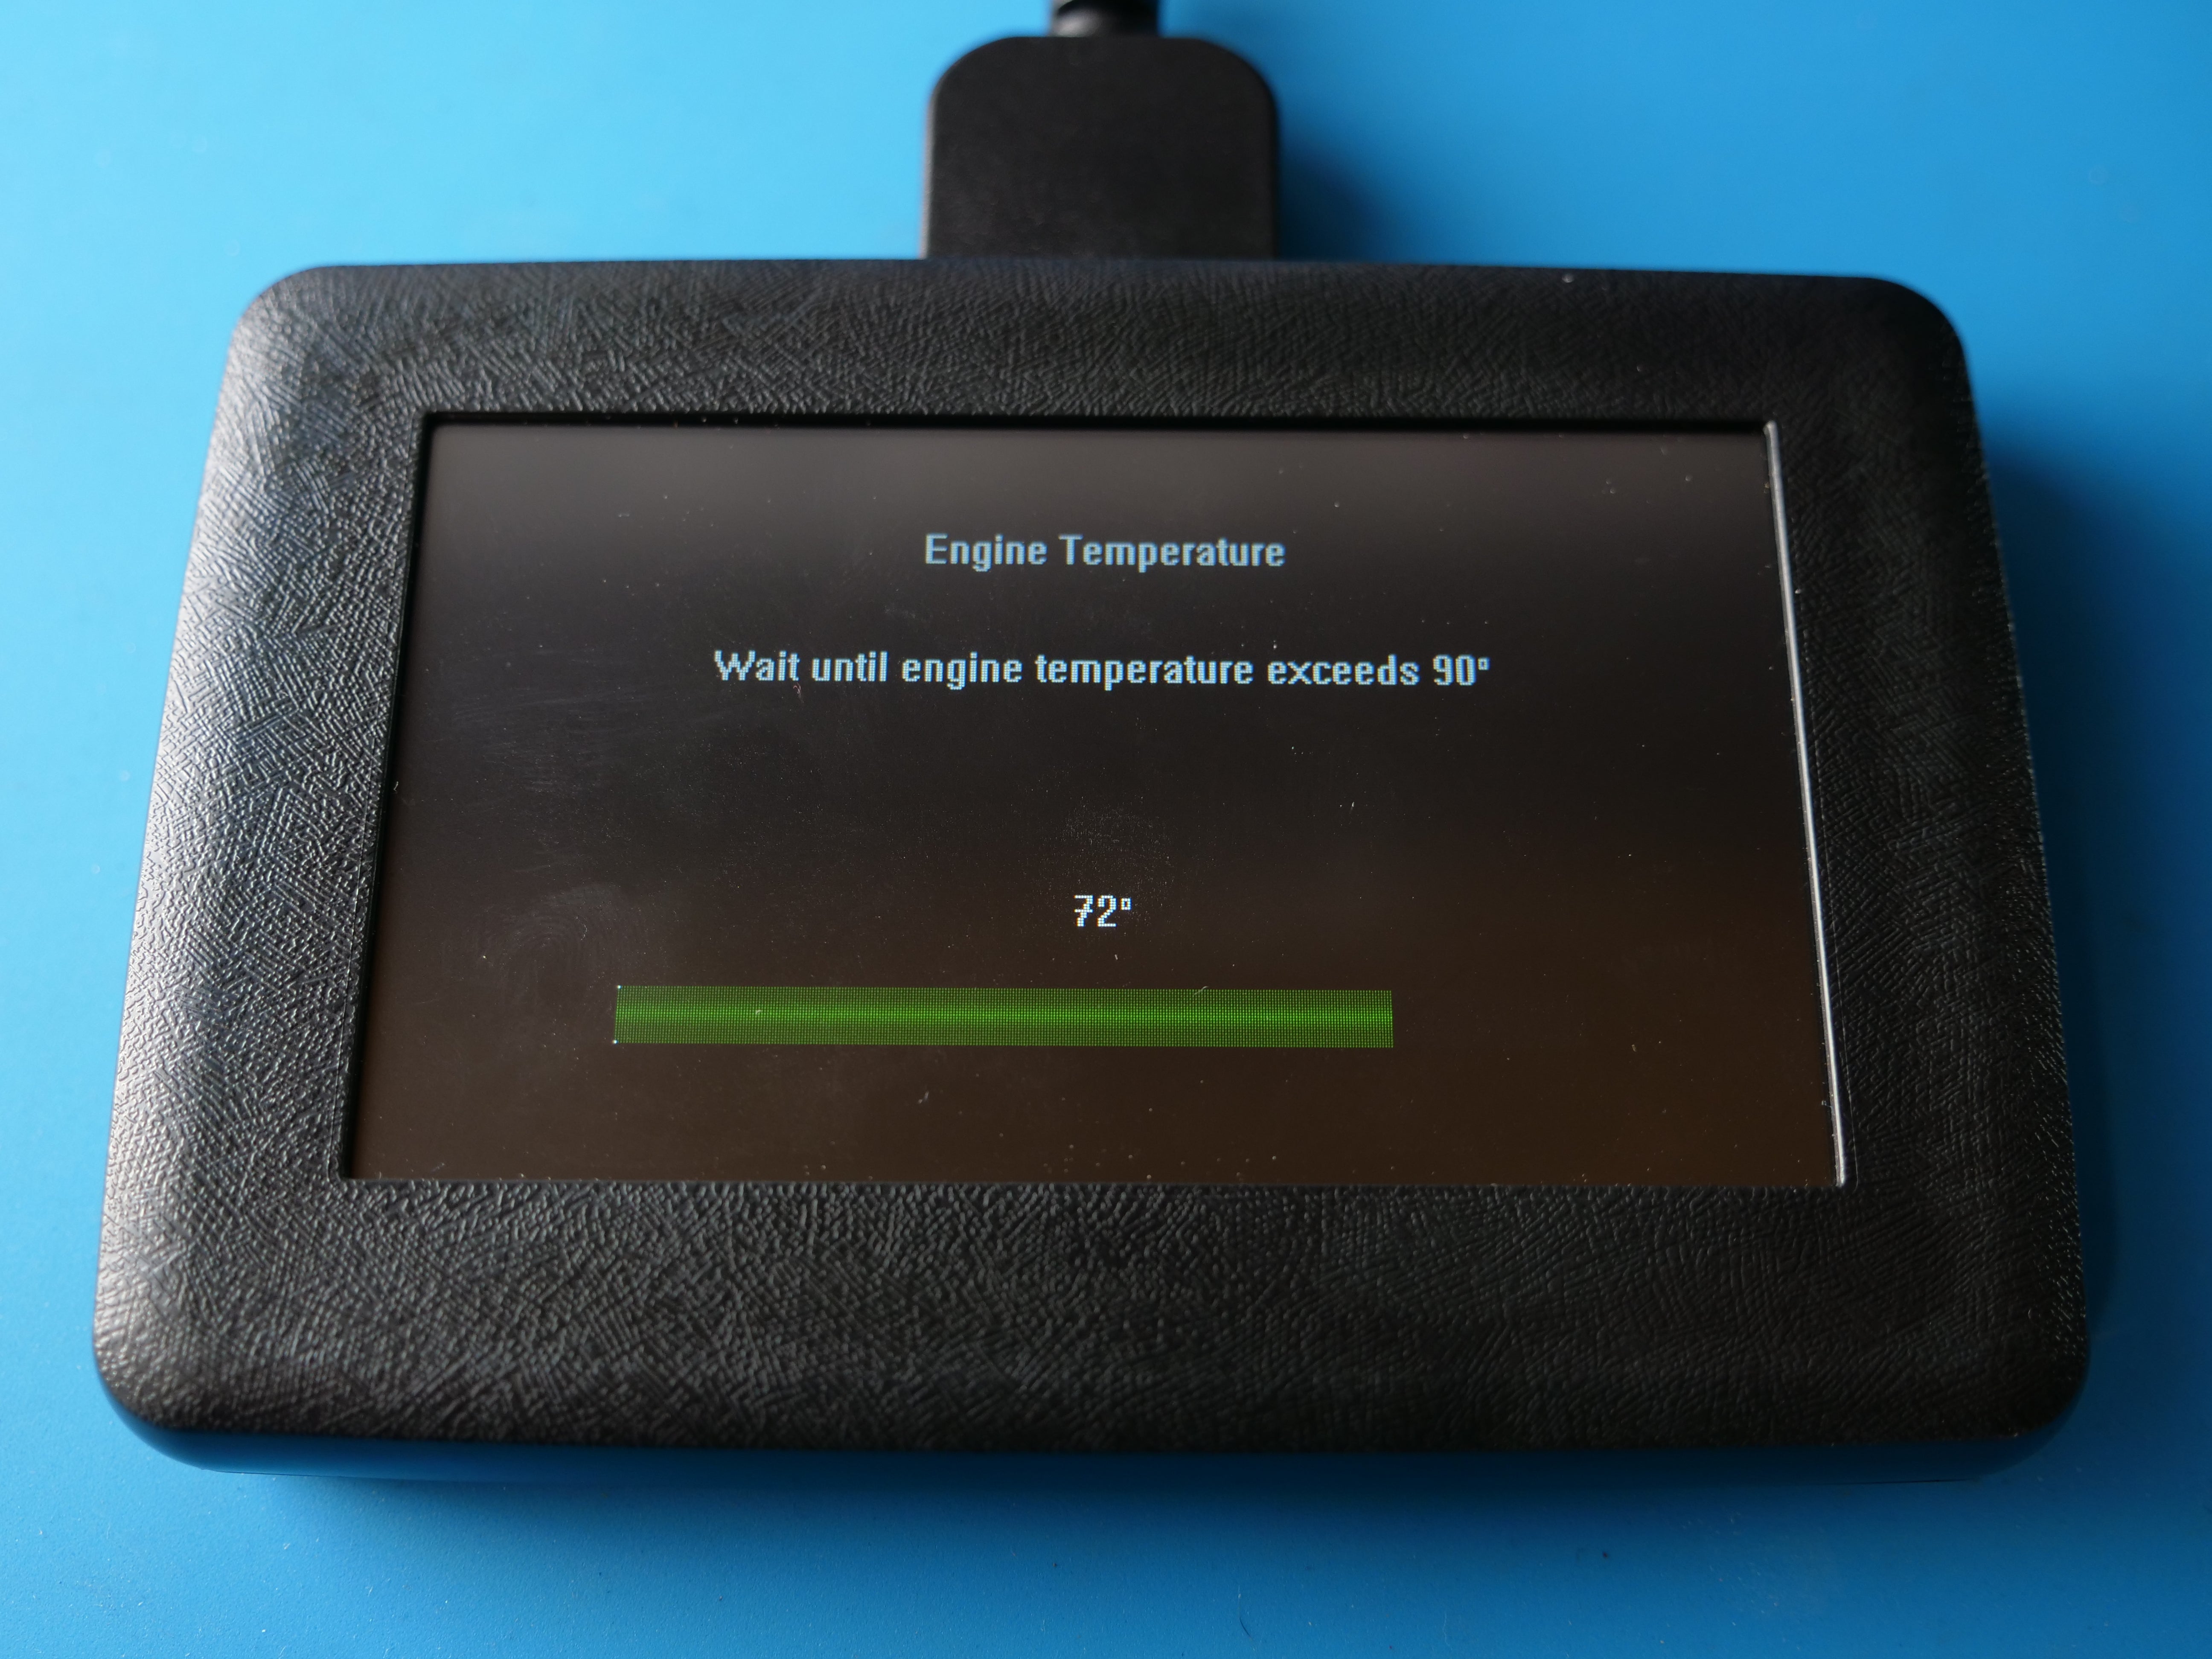
Step 32 - Start your engine and press OK.

Now the car will warm the engine to 90 C (or around 190 degrees, just above the normal operating temperature of the car at medium warm and idle).
This will take a few minutes, and the temp will fluctuate. Please wait patiently.

Once the warm up has finished you will arrive at the screen below. Each overspeed is a moderate rev to redline from idle. Once you reach redline, you will let off and allow the engine to return to idle before proceeding with each prompt.
Step 33 - Press OK to begin the first overspeed. See Picture below.

Step 34 - Begin the first rev to redline. Allow the engine to return to idle for a few seconds, and then press OK. See Picture below.

Step 35 - Begin the second rev to redline. Allow the engine to return to idle for a few seconds, and then press OK. See Picture below.

Step 36 - Begin the third rev to redline. Allow the engine to return to idle for a few seconds, and then press OK. See Picture below.

After finishing the third overspeed and pressing ok, the handheld will process the operation.

Step 37 - The write process is complete. Turn the ignition off, and press OK. Then you can disconnect the EURO+DRIVE from the OBDII port. See Picture below.

OTHER OPERATIONS:
The EURO+DRIVE handheld is capable of reading, interpreting, and clearing CELs and DTC codes from your vehicle. If you have a check engine light, the handheld can be used to read and clear the code.
To do this, follow the procedure below:
Plug the handheld into the OBDII port, turn on the ignition.
From the Main Menu, select "DIAGNOSIS":

Then select "MY VEHICLE":

Then select "DTC Codes":

If you have already associated the handheld with your vehicle, you will go straight into communication with the ECU. Simply follow the prompts to read and clear the codes.
If you have not already connected to the vehicle before, you will simply need to select your make and model of car. Then proceed with the prompts.


