


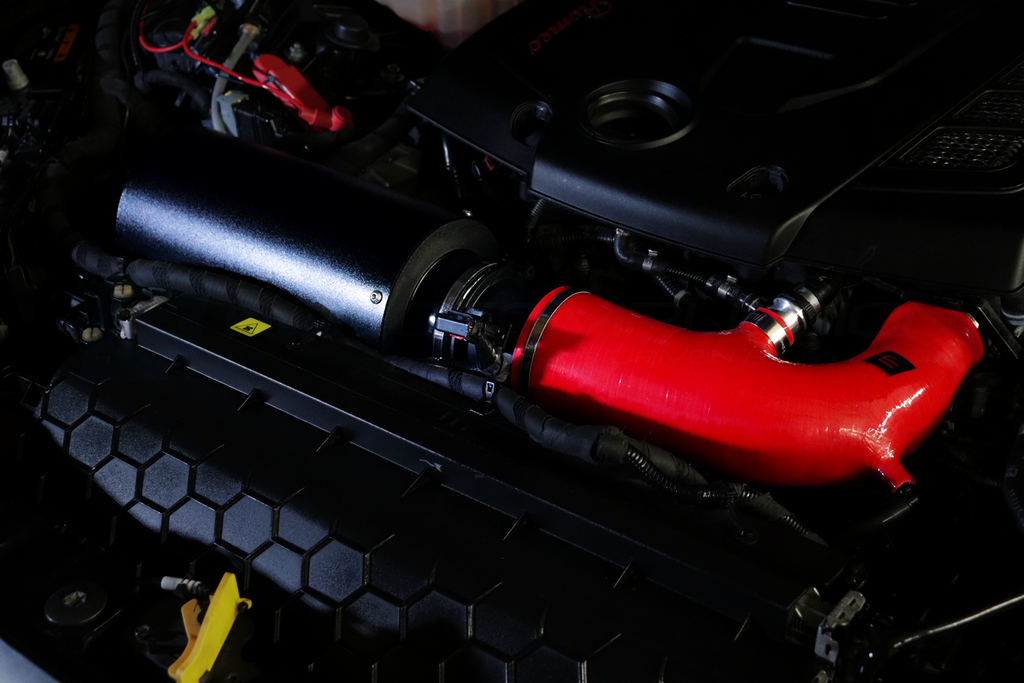
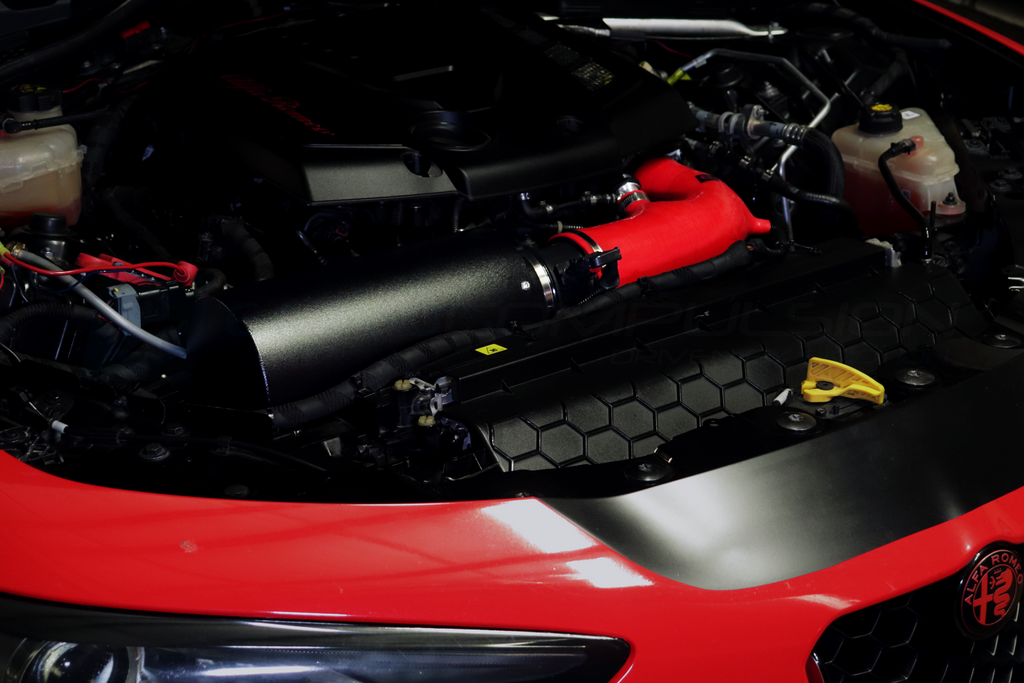
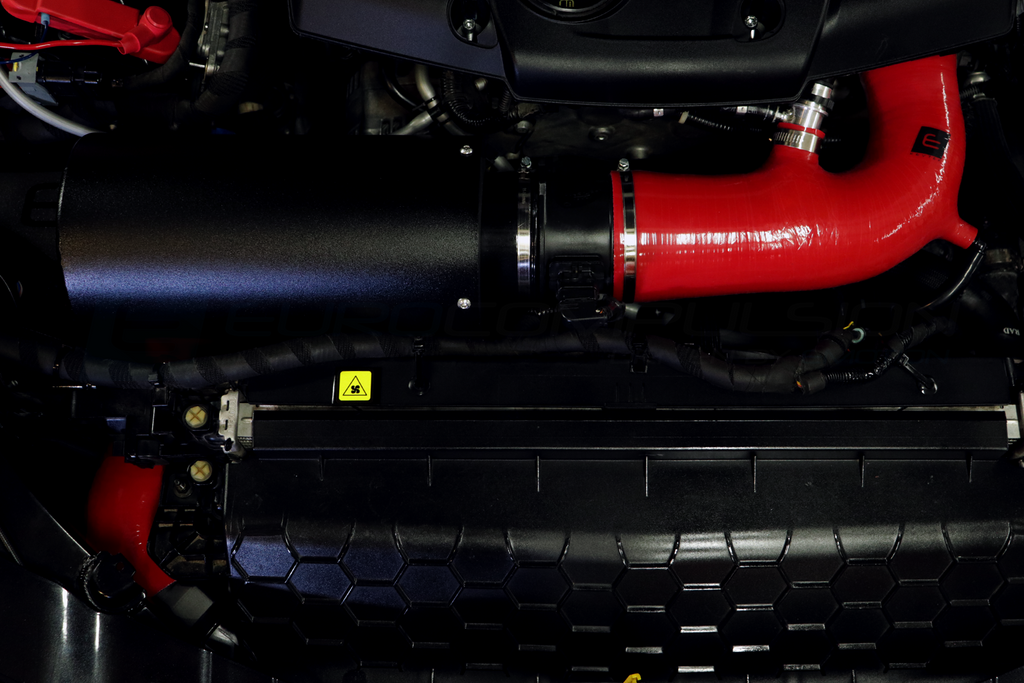


EUROCOMPULSION® is pleased to present the V4 Air Induction System (Intake) for the ALFA ROMEO GIULIA 2.0L Turbo.
Introducing the benchmark for intake performance on the 2.0L GME. Utilizing ram air pressure, increased velocity, and lower intake temperatures, the V4 Air Intake System is the ultimate intake solution for any stock or modified Alfa Romeo Giulia.
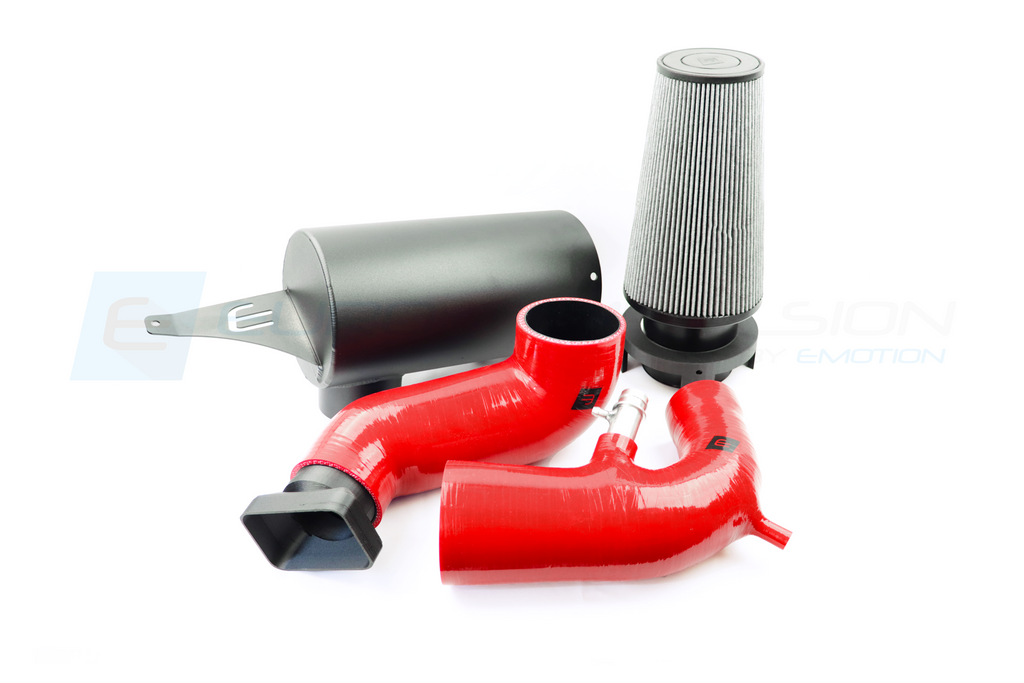
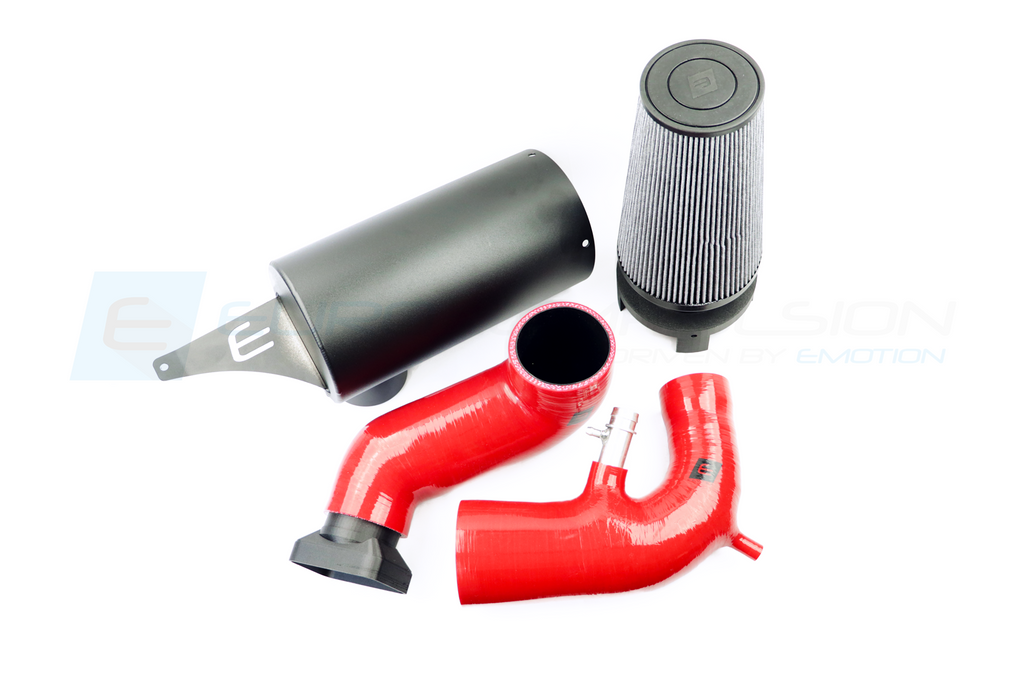
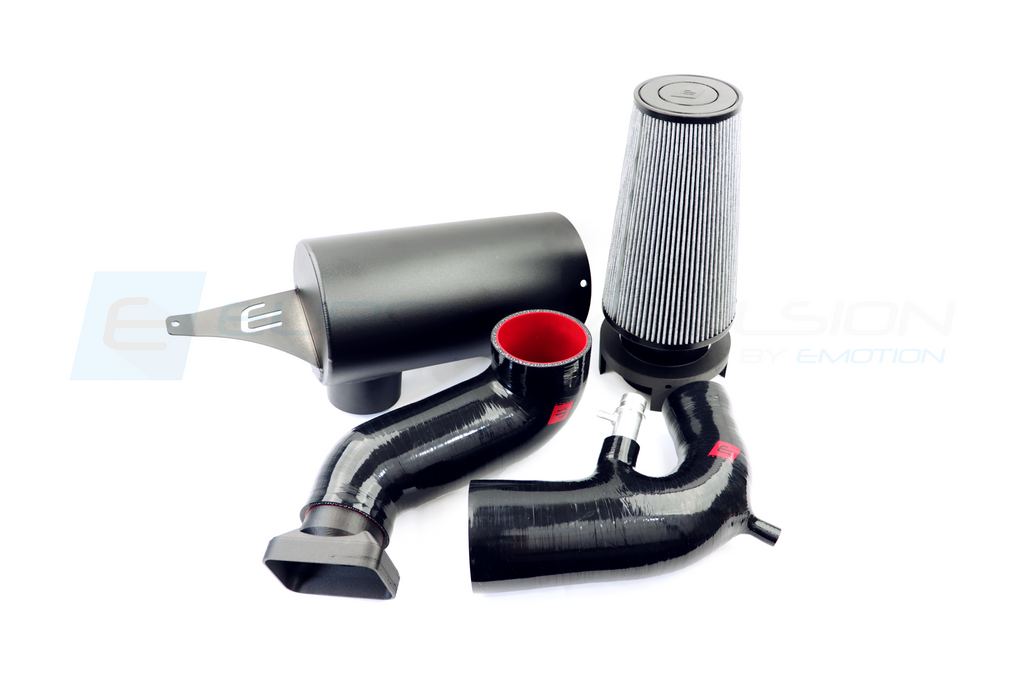
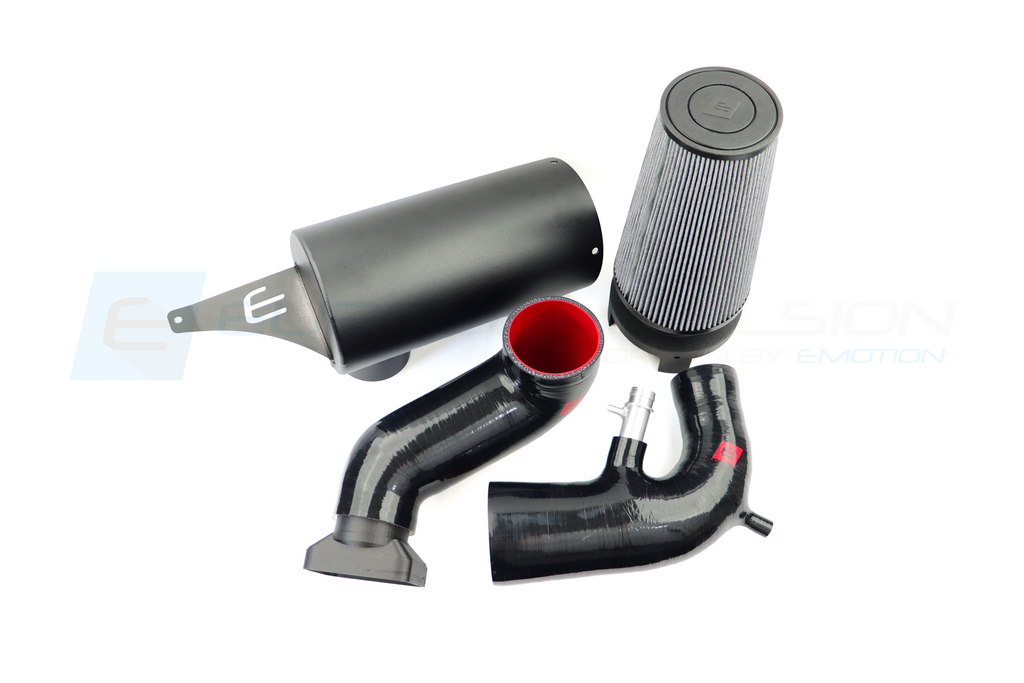
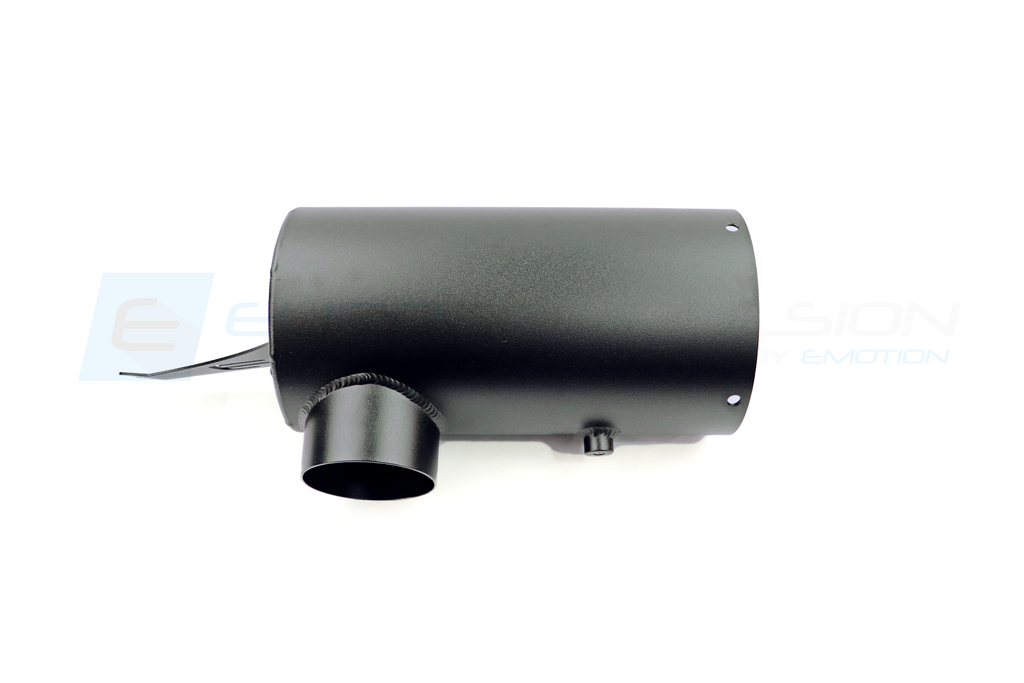
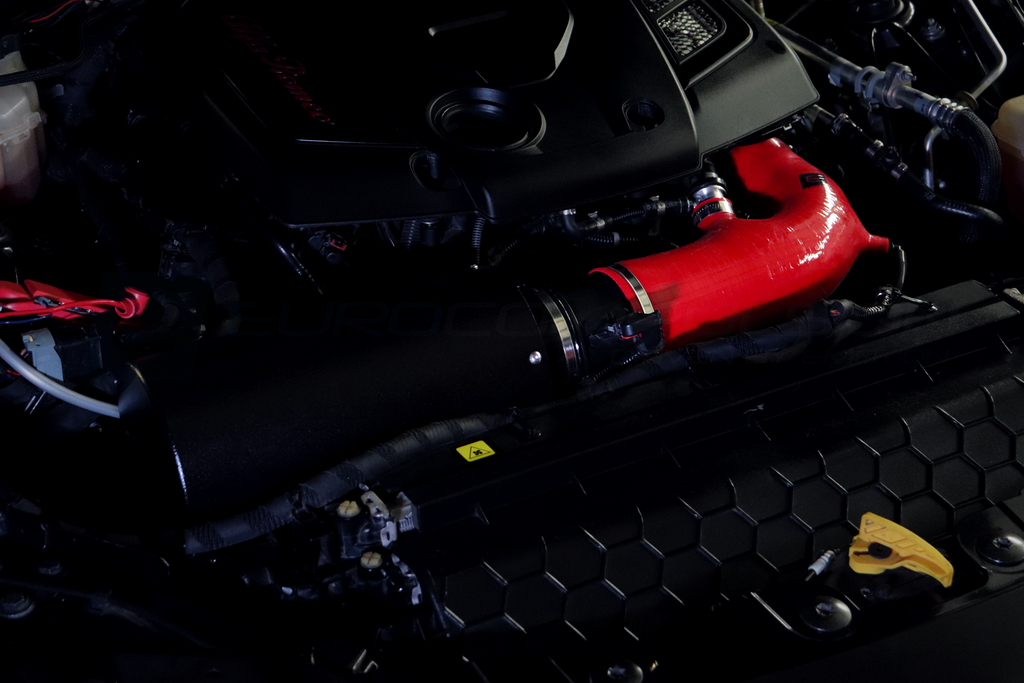
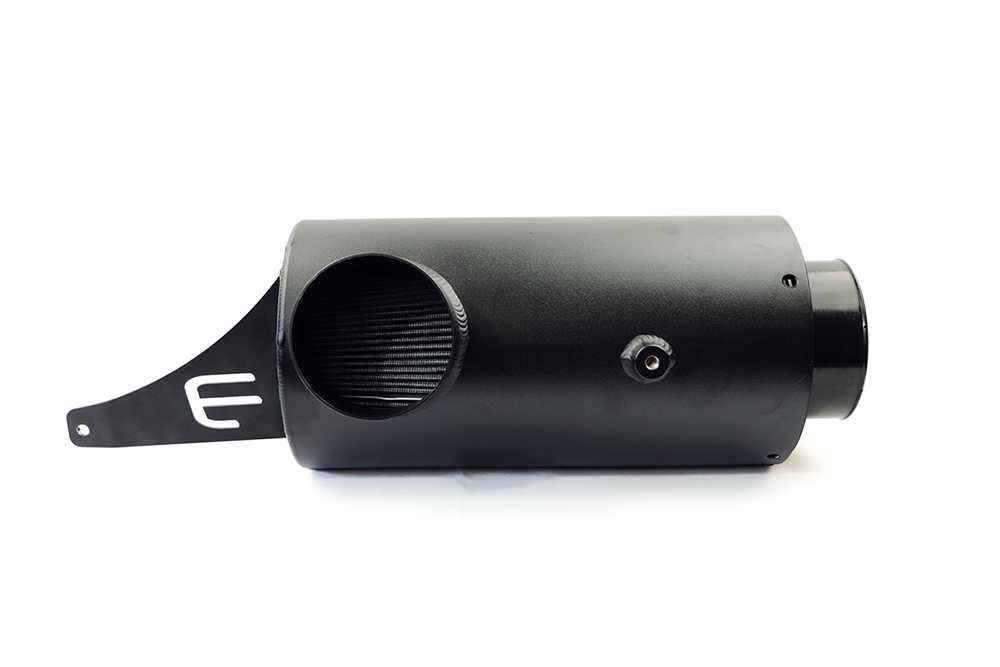
The V4 Induction Kit replaces the entire factory intake system/airbox in favor of completely sealed cold air intake canister, utilizing our premium 4ply Silicone with KEVTEK reinforcement and construction.
Our V4 uses larger diameter transitions over the stock intake piece for increased air volume and flow. A stepped design at the turbo inlet side maintains laminar flow and reduces turbulence. The smoothed interior walls and extremely low thermal conductivity of our silicone will provide cooler and more dense air to the turbo inlet increasing engine efficiency and power output.
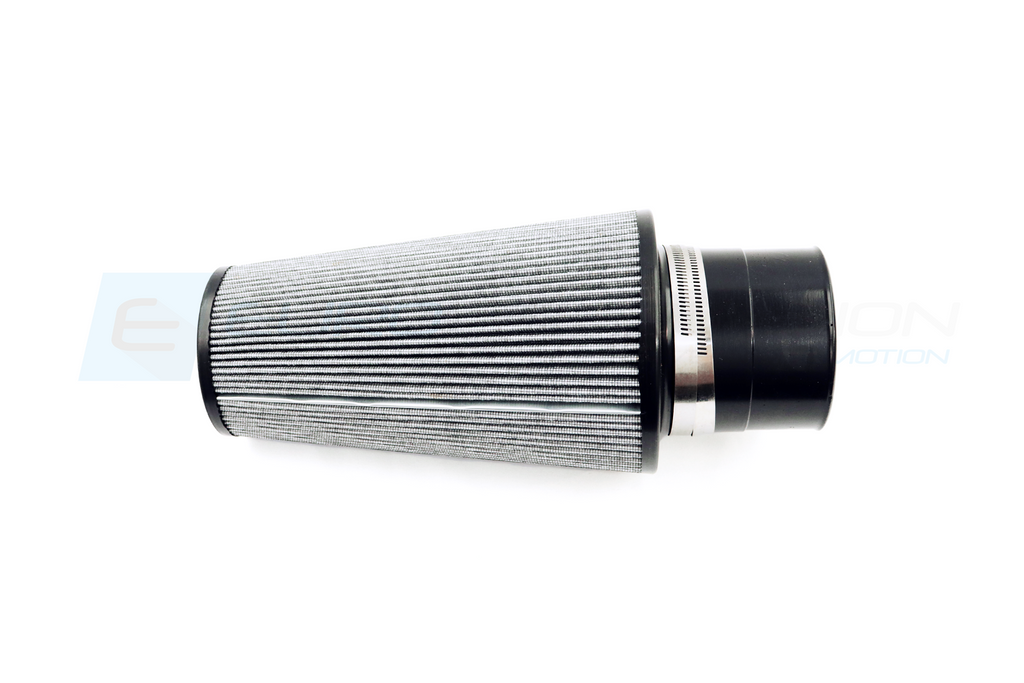
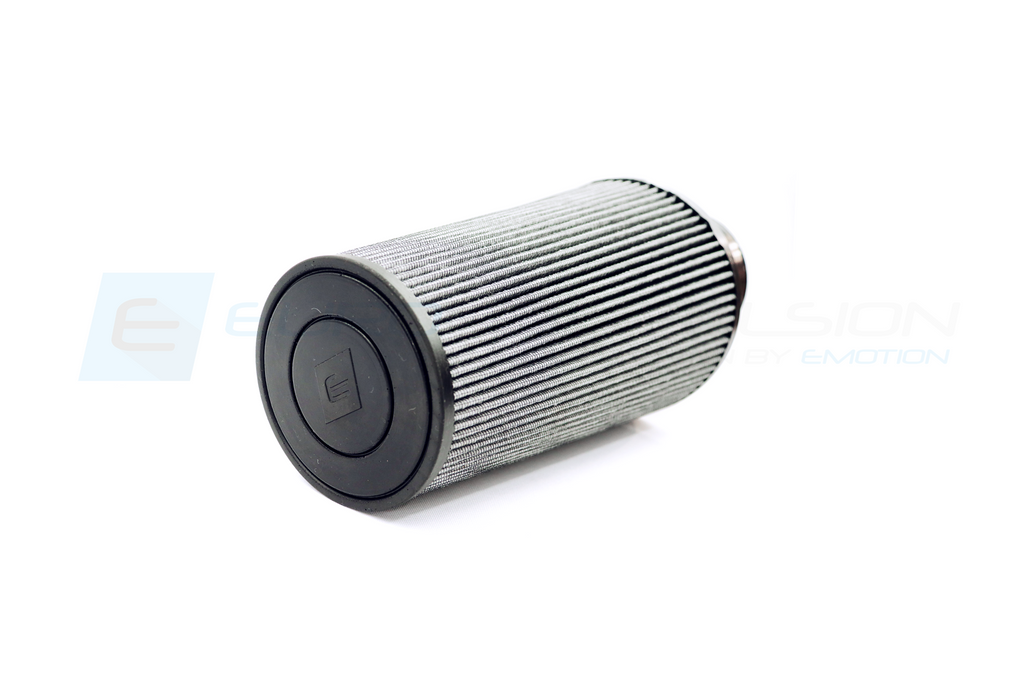
This upgraded canister filter design maximizes high-pressure ram air from the factory ducting to deliver high velocity air directly to the filter while maintaining factory-provided inertial separation for debris and other unwanted materials in the filter media. Decreased restrictions allow for higher flow volume and significantly reduced pressure loss.
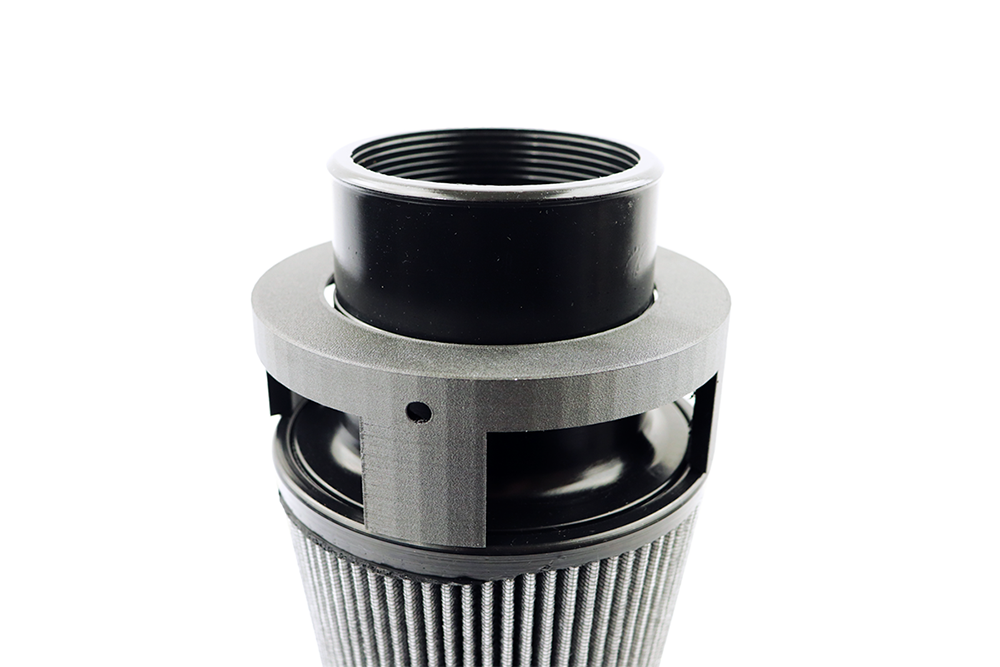
Oversized high flow conical air filter (designed especially for the V4 canister) uses advanced filter media that improves flow by an average of 10-12%. Our filter material uses a steel wire reinforced double-layer cotton mesh with deeper pleats than the average cone.
This as well as our other available Intakes are perfectly paired and designed with our Euro+Drive® Tuning System in mind.
FEATURES:
- Increased Power Output (11whp/20wtq as tested)
- Reduced Air Intake Temperatures
- Increased Air Density at the turbo Inlet
- Reduced Pressure Losses in the intake tract
- Increased diameter transitions for more air volume
- Stepped turbo inlet design for increased laminar flow and decreased turbulence
- Maintains all factory emissions and vacuum routing
- Easy Plug & Play Installation, no alteration to vehicle required
- Will NOT trigger Check Engine Lights
- New Machined EVAP Venturi, W05 Compatible, NO CELS
- Increased Aesthetics
- Uses EC Conical High Flow Air filter, advanced filter media, and filtration
- Easily reversible
- Includes all necessary Clamps, Fittings, Hardware, and Hoses
- World Wide Fitment for the Giulia 2.0L Petrol (Gasoline Engines)
APPLICATION:
- Alfa Romeo Giulia 2.0L Turbo (2017-present) US Spec
- Alfa Romeo Giulia 2.0L Turbo (2017-2021) EU/International
TECHNICAL INFO/DYNO CHARTS: HERE ( or See Tech Info Tab)
INSTALLATION INSTRUCTIONS: HERE (or See Installation Tab)
ALUMINUM VENTURI INSTALL: HERE
MEDIA:

TECHNICAL INFO
The new V4 Air Intake system was designed with one purpose: to maximize reduction in temperatures by sealing this intake off from the engine bay, and to maximize ram air pressure to the turbo for optimal performance. With an all new canister design, conical high flow filter, and custom ram air scoop, this goal was achieved.
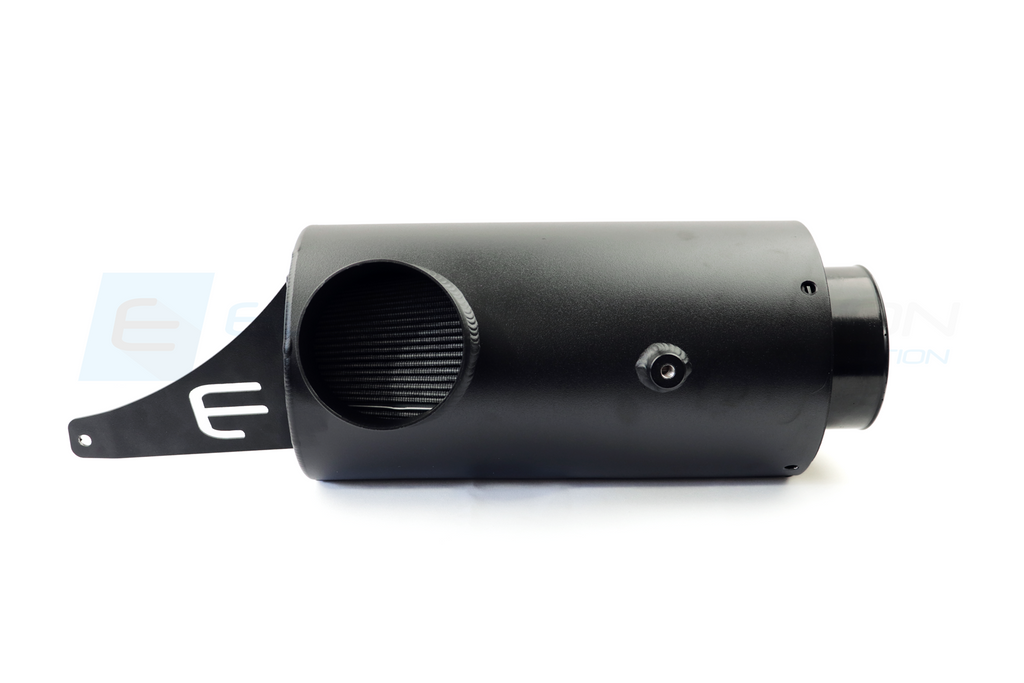
| FILTER DESIGN |
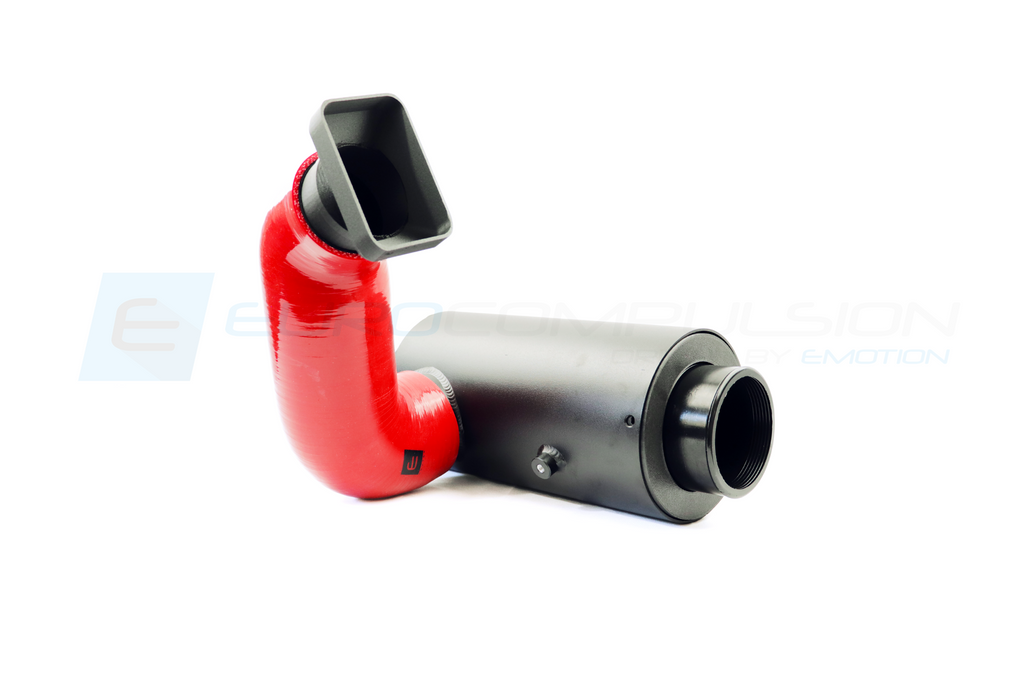
The V4 canister is an all new design, made to seal our high flow filter completely from engine bay heat. This design also increases air velocity and decreases intake turbulence, both via it's smooth shape and flow characteristics.

| RAM AIR DESIGN |
To ensure the new canister filter has adequate supply of cool, high pressure air from the front of the car, a new silicone ram tube with custom molded scoop was designed. This pairing seals directly to the fresh air duct at the front of the car, increasing the possible ram air pressure maintained in the intake tract. These pieces enable smooth, high pressure flow while blocking engine bay heat from entering the filter canister.


INTAKE AIR TEMP TESTING
The EC V4 Intake, V2 intake and Stock Intake pieces were tested on single gear pulls (road testing) starting from 2200rpm up to redline. These tests were performed back to back on the same day, and data is compiled from 10 run averages for each intake piece.
- - Ambient Temp = Start: 90F End: 91F (WOT)
- - EC V2 Intake = Start: 132F End: 122F (WOT)
- - EC V4 Intake = Start: 121F End: 108F (WOT)
- - Stock Intake = Start: 141F End: 133F (WOT)

- - Ambient Temp = Start: 91F End: 91F (CRZ/PRT THROTTLE)
- - EC V2 Intake = Start: 121F End: 124F (CRZ/PRT THROTTLE)
- - EC V4 Intake = Start: 101F End: 104F (CRZ/PRT THROTTLE)
- - Stock Intake = Start: 129F End: 134F (CRZ/PRT THROTTLE)
*Testing Note: Temperatures tend to stabilize anywhere from 5-10F above WOT temperature prior to going full throttle (during cruise and part throttle driving).

DYNO TESTING
Dyno testing was performed on a stock 2017 Alfa Romeo Giulia (US Spec) w/91 octane fuel. V2 and stock runs were from a prior day, same temperature (DA and humidity may differ slightly compared to V4 runs). Adequate cooling fans are used at the front of the car. A Temperature was 91' F.

INSTALLATION | V4 AIR INTAKE | ALFA ROMEO GIULIA 2.0L
October 5, 2022

Start by removing the engine cover. Two cover plates can be removed with a flat head screwdriver. The bolts holding on the cover are 2 -10mm bolts. Once removed you will have more access to the turbo side of the intake system.

Loose the clamp connecting the intake to the turbo inlet. Loose then clamp holding the air intake piece of the air flow sensor attached to the factory air box.

The larger line coming off the intake can be pinched to be removed. The clamp on the smaller hose can be removed at this time. On the bottom side of the intake will be two plastic evap quick connect lines. These can be pinched to be removed as well.

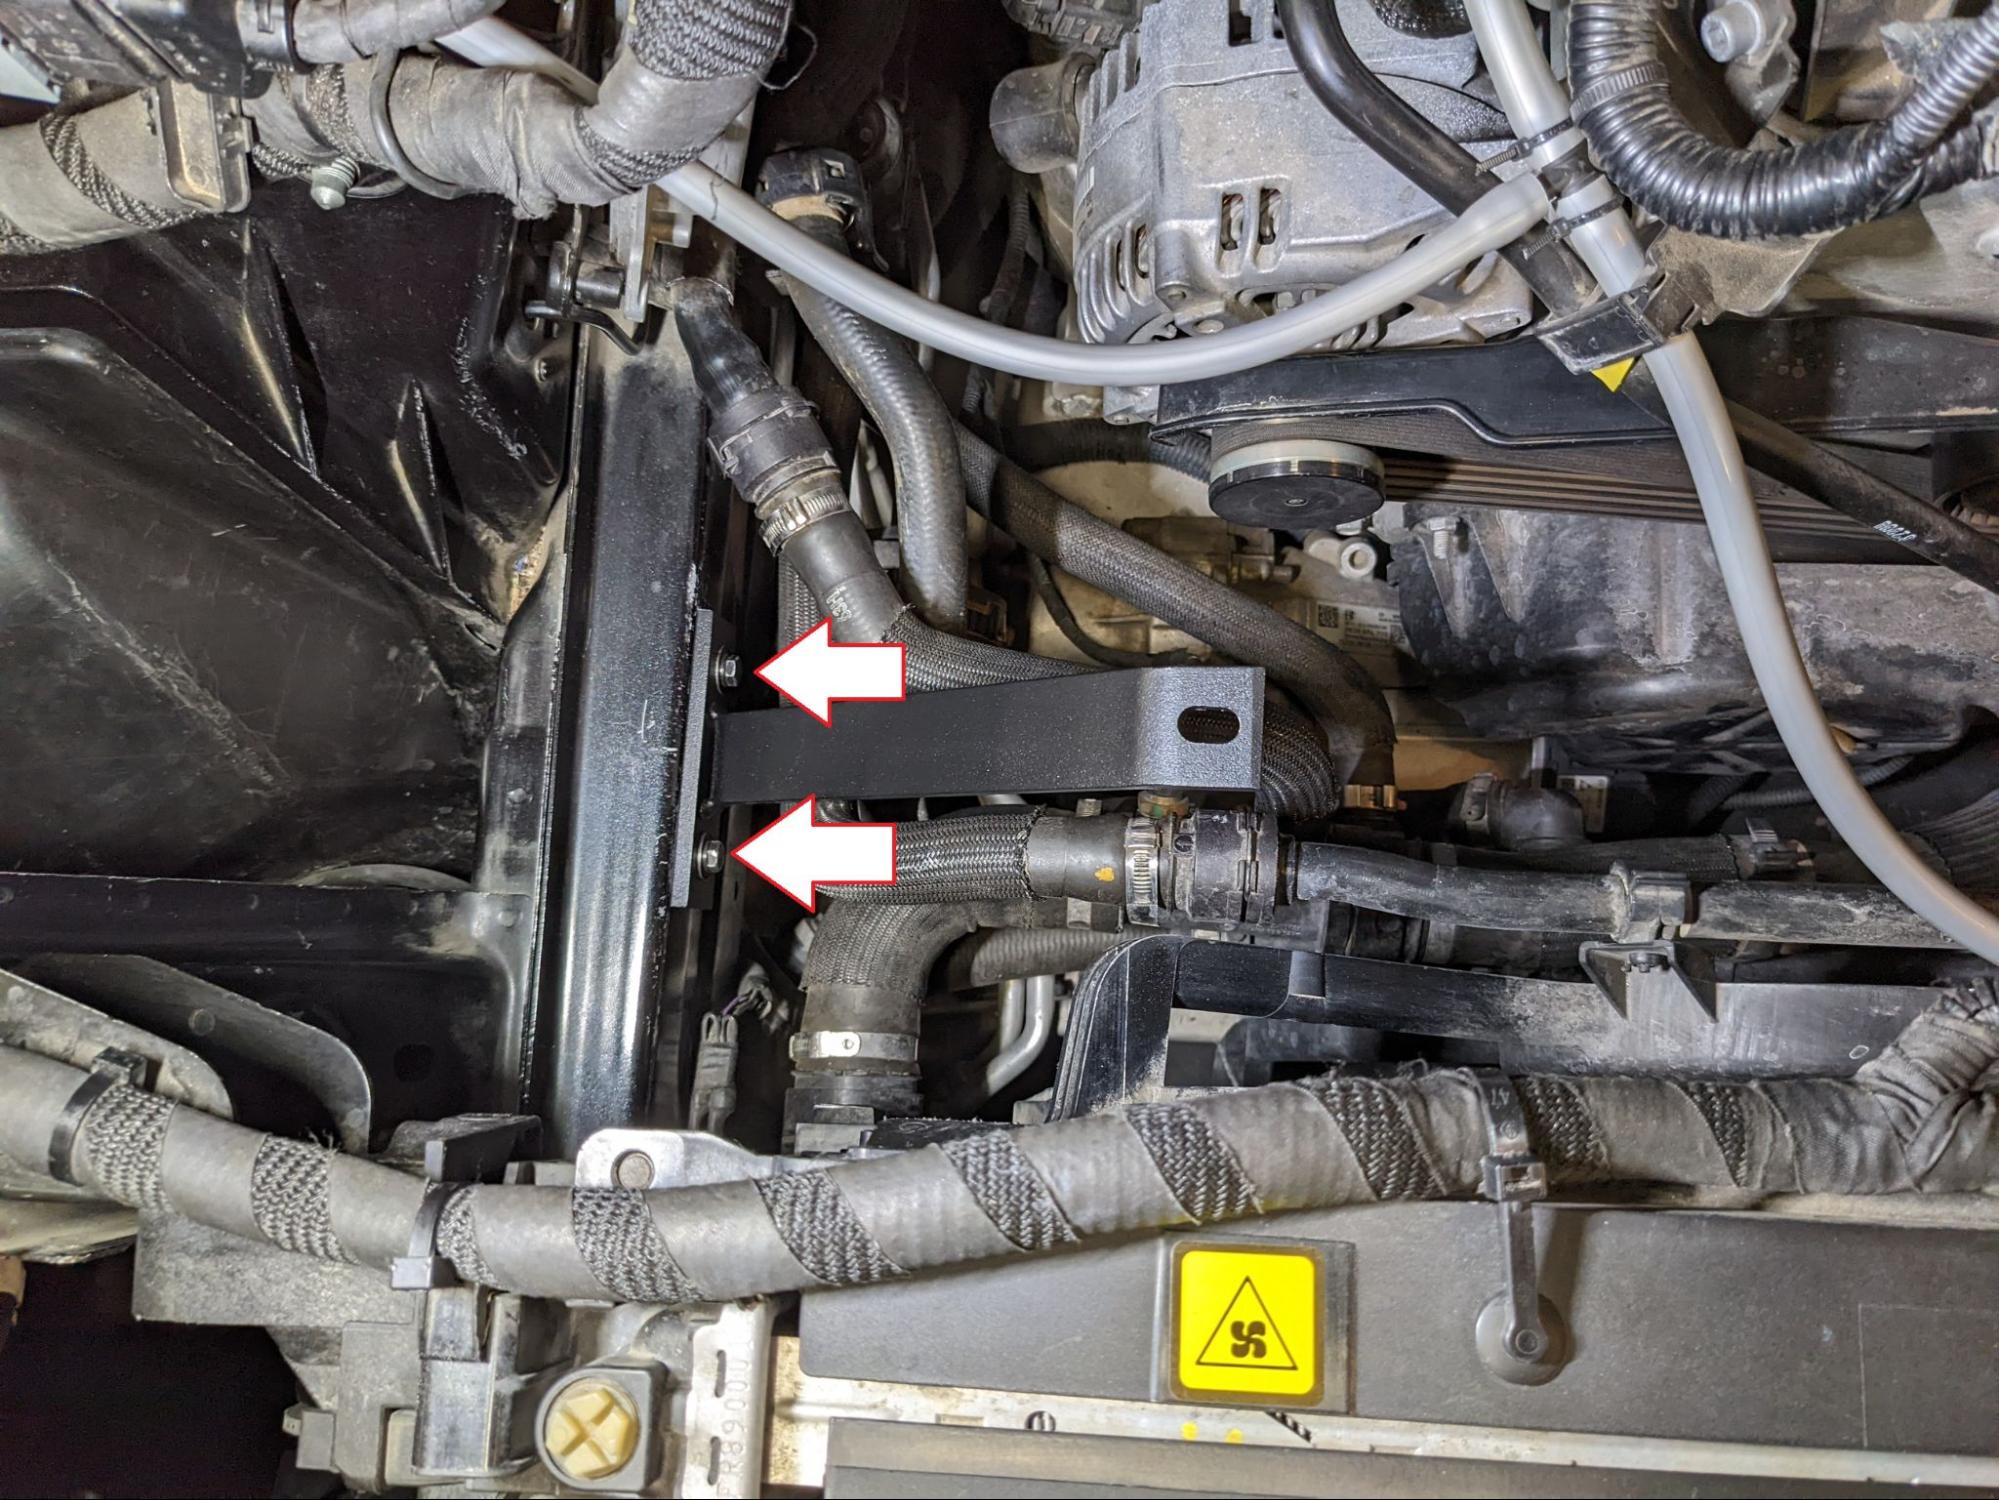
After the factory intake piece is removed. You will need to remove the 10mm bolt located on the passenger side holding the air box in place.
Release the electrical connector on the air sensor. Pull the red tab out until it clicks then pinch the whole connector to remove. There is a fresh air duct connecting the front of the air box to the front of the vehicle. This tube needs to be removed. It can be pinched to be removed.
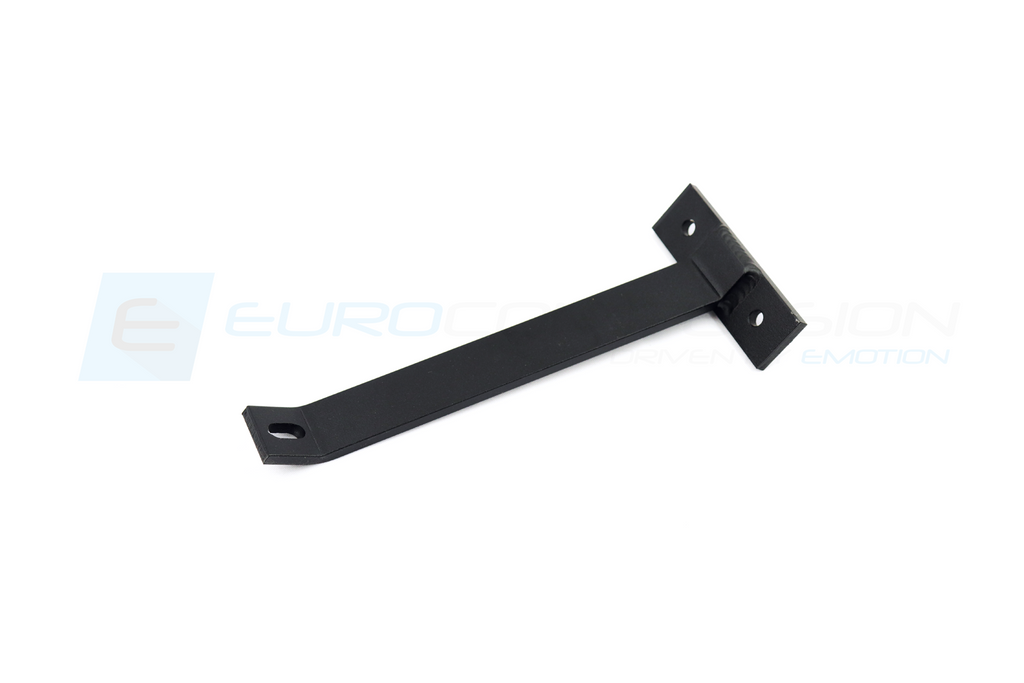
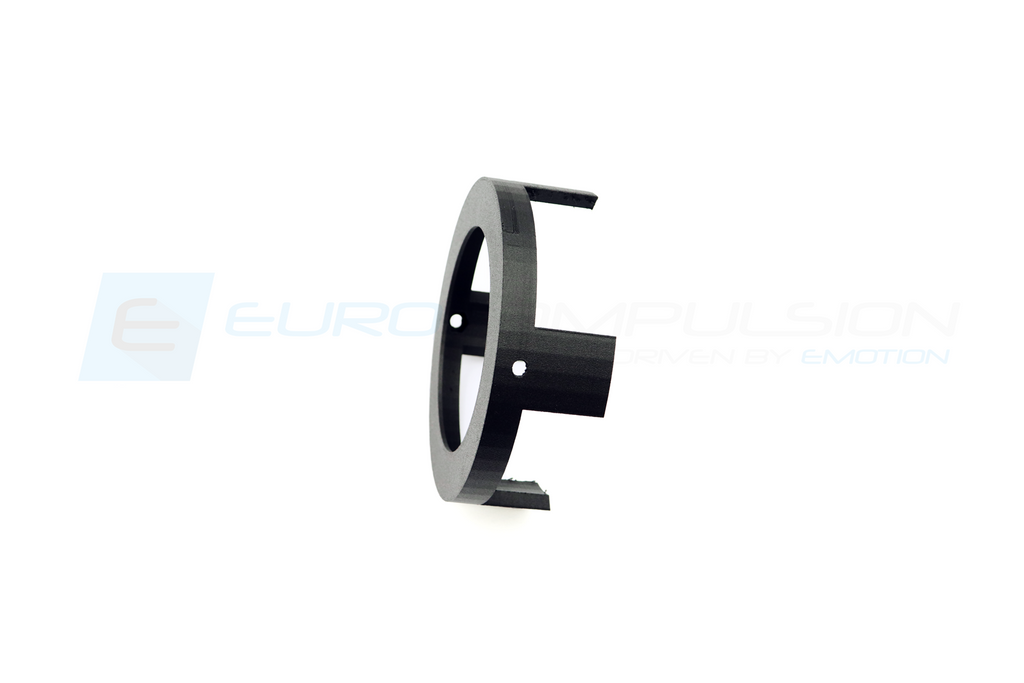
Once the air box is removed from the car, you will need to remove the factory mass air flow sensor bung and reuse it with the eurocompulsion v2 intake system. It is held onto the air box by two torx socket cap bolts. The lower bracket holding the air box is then removed.
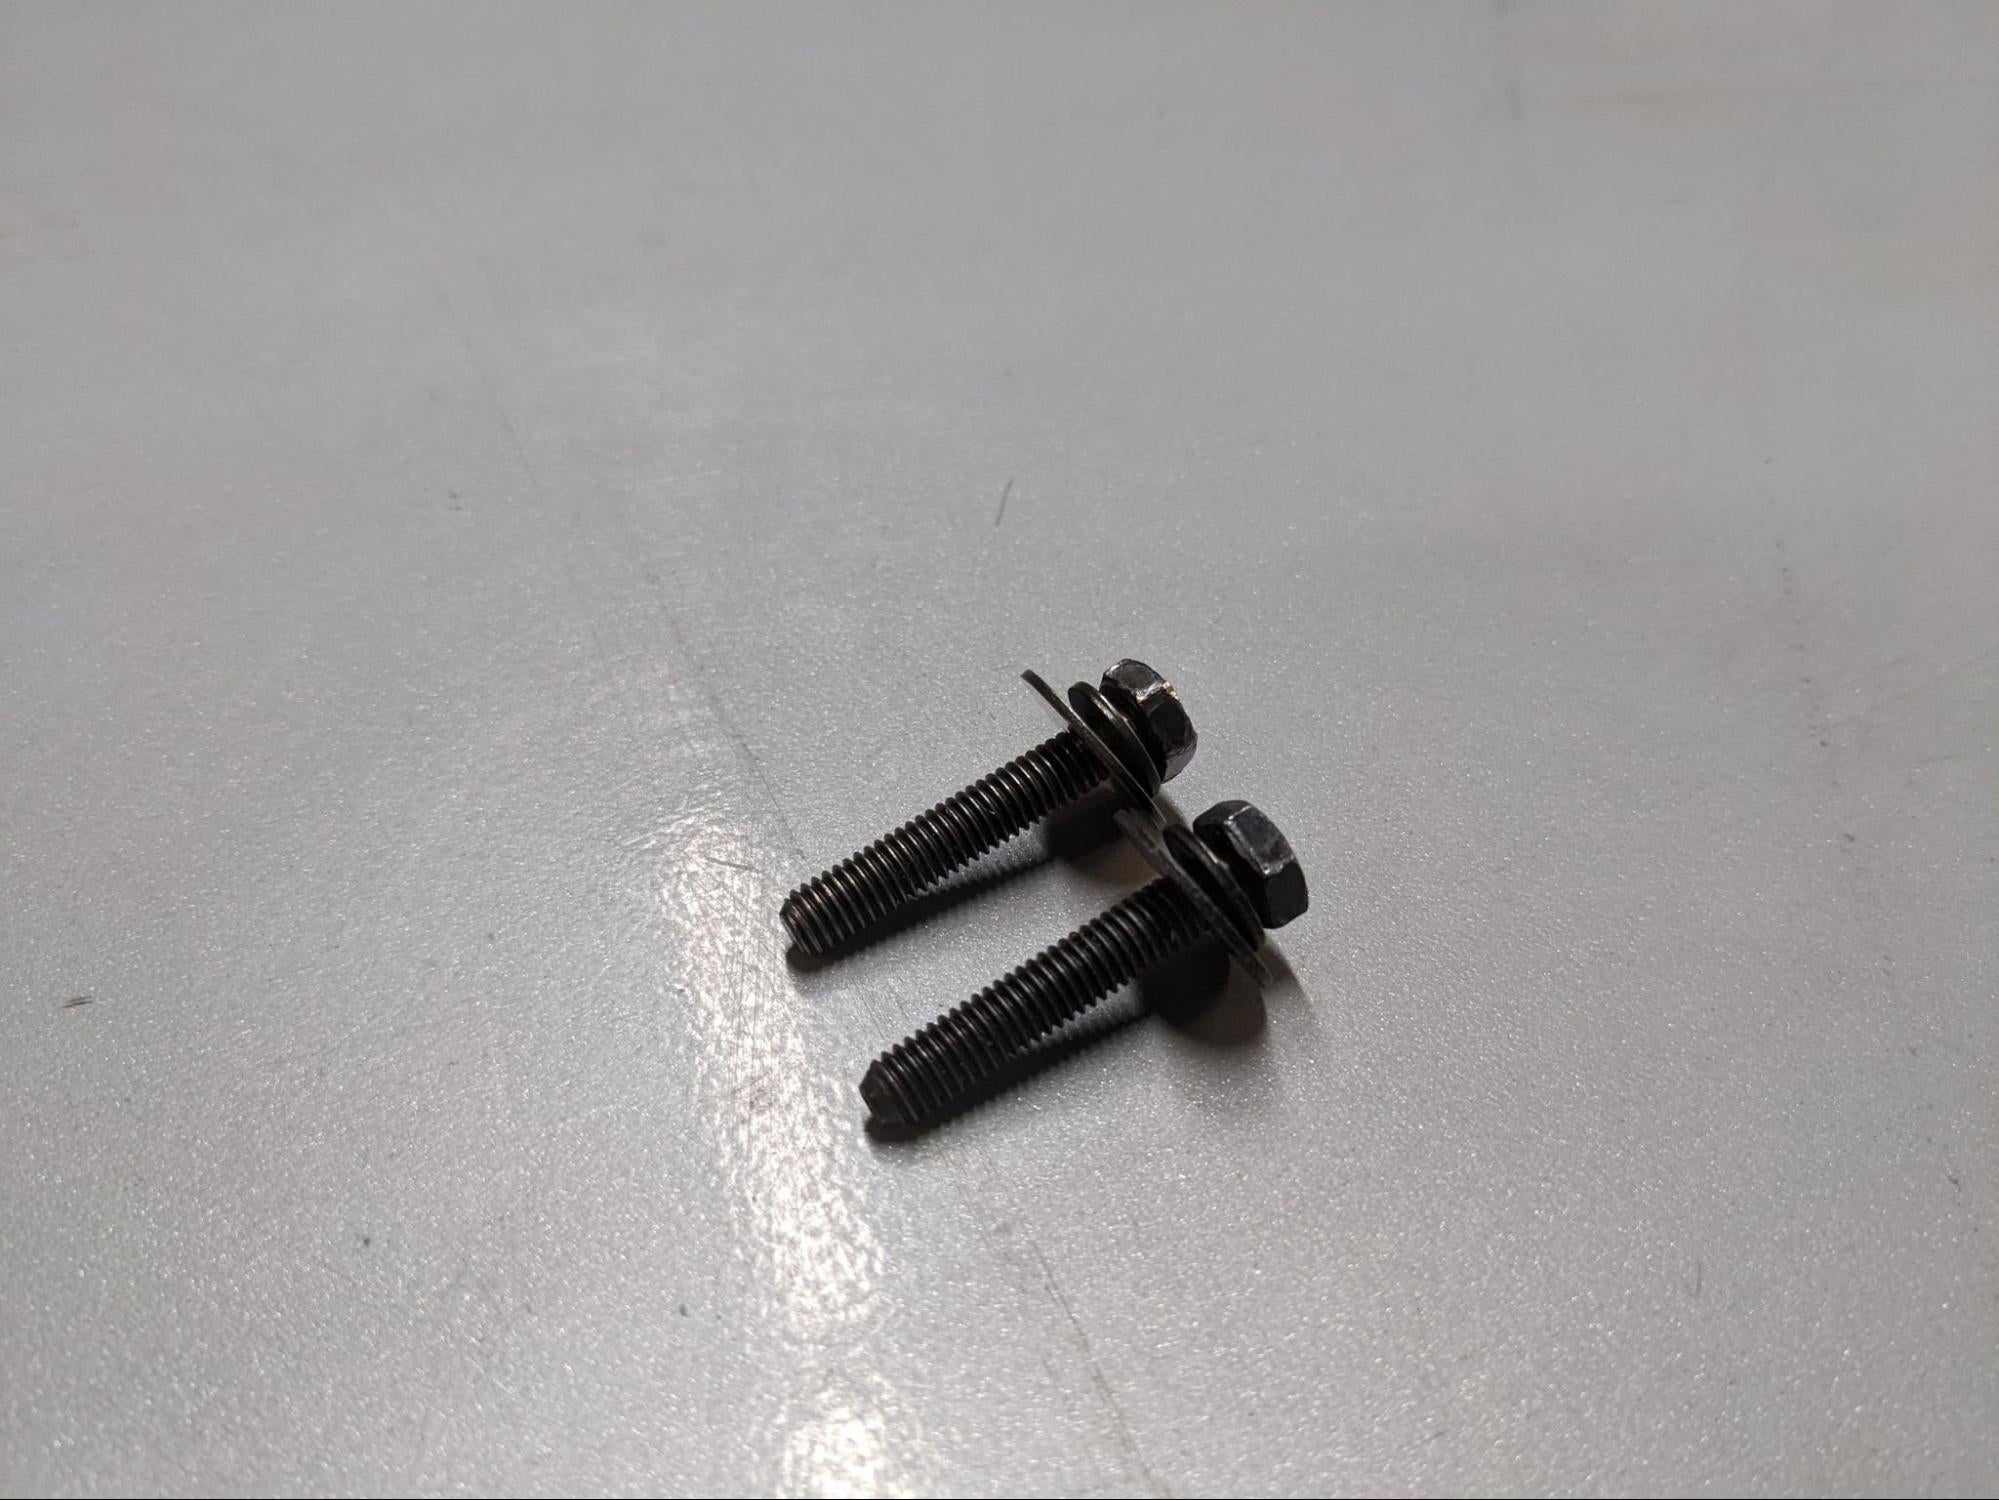
Be sure to keep both bolts holding the brackets. They will be reused on the Eurocompulsion intake box.


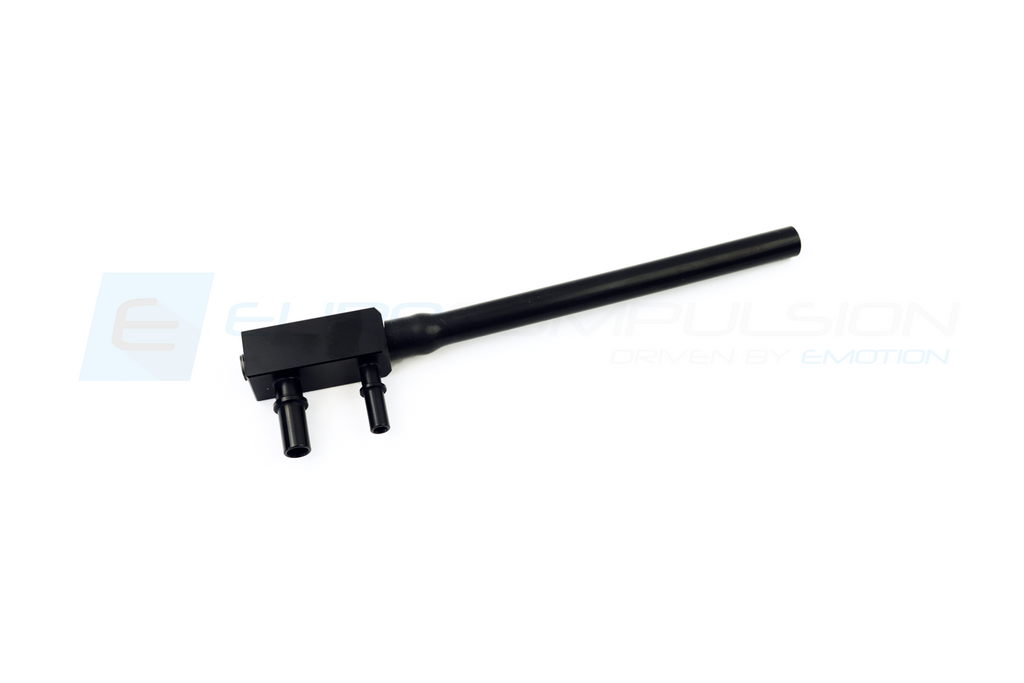
Once the factory system has been removed we can start installing the new intake system. Start by using the supplied evap hoses and connect to the two quick connect fitting you disconnected from the factory intake piece.

Use the two factory bolts that were removed from the factory bracket and use them for the new lower bracket included with the V4 intake kit. 2 - 10mm hex head bolts can be tightened down.
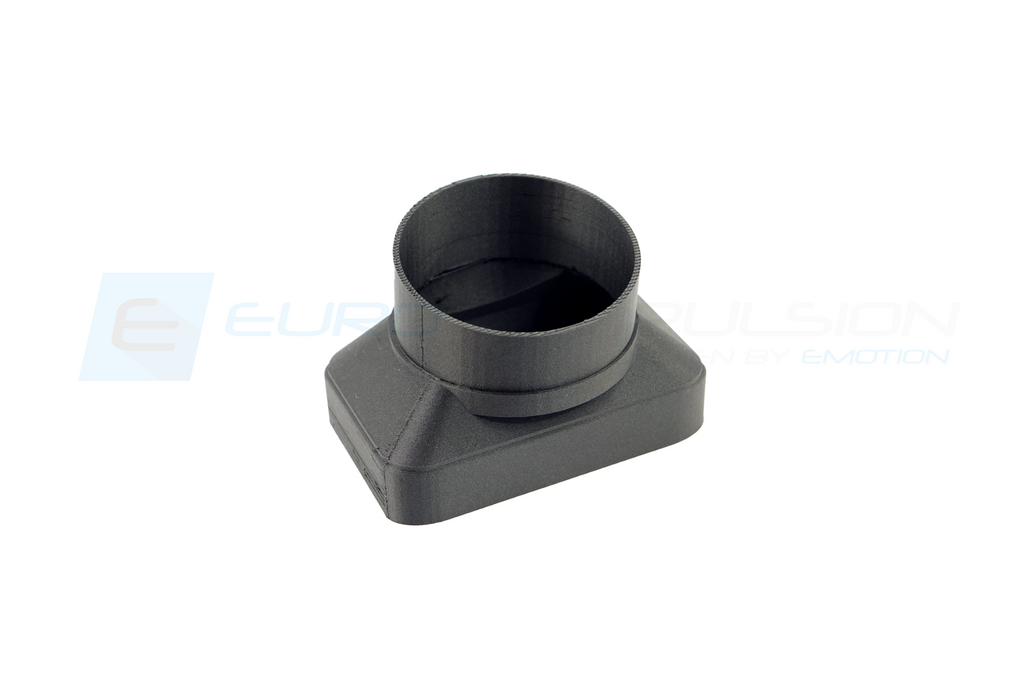
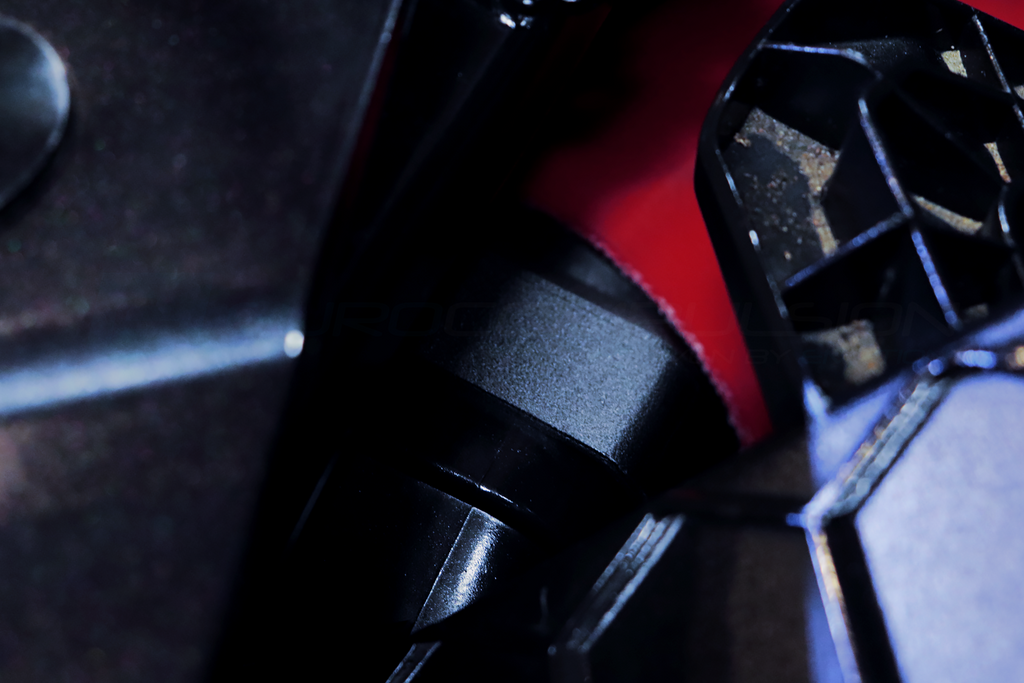
We find it easier to pre-install our fresh air duct (3d printed piece) before fitting the silicone into place. This however can be done both ways.
Use a lot of soap and water to ensure the silicone can be manipulated and twisted into place. Below is a photo illustrating how the air duct needs to be attached to the silicone if you choose to attach the duct and install it as one unit.


The side of the air duct (rounded rectangle) that connects to the factory shroud is a VERY tight fit. This may require you to compress the sides of the factory shroud to allow the duct to fit over. It will fit, but may require some manipulation. This piece is designed to attach with no screws or adhesives.
Below shows what it will look like if you install air duct before the silicone piece.

The clamps that hold the ram air tube to the air duct and to the air box are optional. We have done extensive testing and everything stays in place without clamps. We include them for your peace of mind.
Once both pieces are installed the silicone piece should have the same orientation shown below with the outlet of the ram air piece facing upward. (this is without optional clamps)

Next you want to apply a lot of soapy water to the inlet of the filter housing. This will help when attaching to the ram air tube.

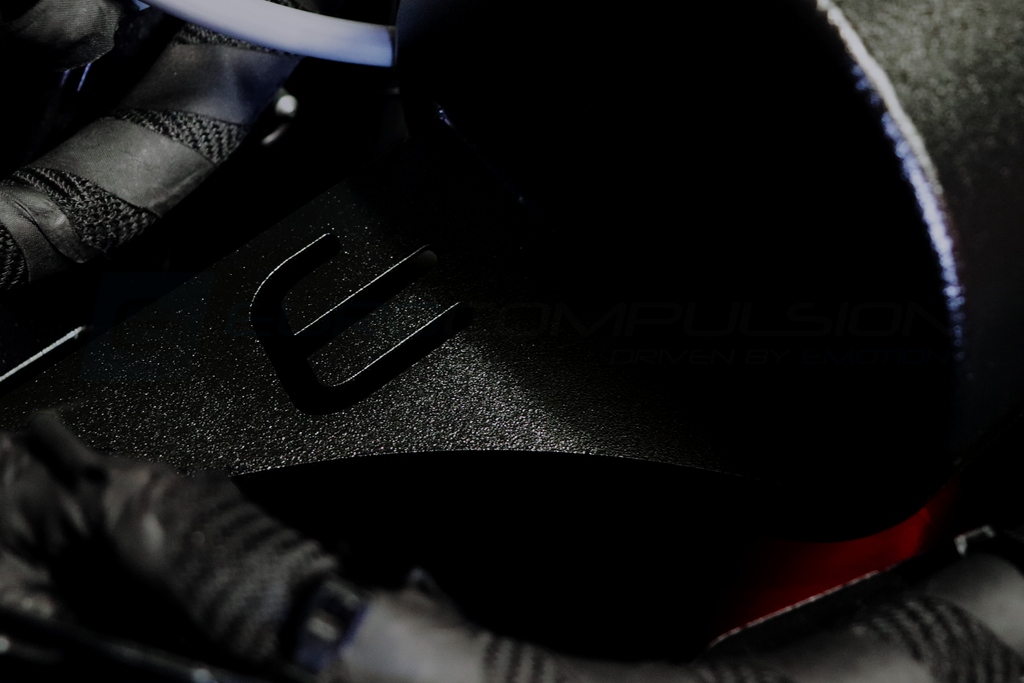
Press the air box into place on the silicone and secure the attached upper bracket with the Eurocompulsion logo with the included M6x1.0 bolt and washer. You may have to place your hand around the air box to ensure the lower silicone is fully seated on the inlet of the air box.
DO NO TIGHTEN this bolt yet. HAND TIGHT works best to allow movement for the lower bracket. Check and make sure the silicone piece is firmly seated on both inlet and outlet side.


Locate the M8x1.25 bolt and washer included and secure the lower bracket to the bung attached on the bottom of the air box (be careful not to drop this bolt!). Once both bolts are in place make sure the air box is sitting evenly. Then fully tighten both bolts.

Once the air box is in place attach the MAF joiner. This will also require soap and water to allow the silicone to move freely. Attached the provided clamp.

Finally attach the main silicone piece. The best method is using soap and water and attaching the larger side to the MAF joiner and rotating it towards the back of the car until you can attach it to the turbo inlet. Attach the blow off hose port and secure the clamp at the turbo inlet side and MAF joiner side. Ensure that everything feels solid for final inspection.


AddThis Sharing Buttons
Share to FacebookFacebookShare to TwitterTwitterShare to PinterestPinterestShare to WaneloWaneloShare to FancyFancyShare to FashiolistaFashiolistaShare to EmailEmailShare to MoreAddThis
Eurocompulsion cannot guarantee the success or stated power gains while using modifications not tested in house or recommended. When testing results, always follow proper dyno procedures, use appropriate fuel, and compare to vehicle specific stock deltas. Eurocompulsion is not responsible for damage caused by or incurred by other modifications or user error/installation error by user or third party. Off-Road & Race Use Only. “Not legal for sale for, or use on, pollution-controlled vehicles.” “Legal only for racing vehicles which may never be used upon a highway. Not applicable or intended for street or highway use.”


