


EUROCOMPULSION V2 AIR INDUCTION KIT INSTALLATION INSTRUCTIONS
Tools Required:
- Extra Long,Low Profile Jack/Lift
- 10mm Socket/10 wrench
- Philips Screwdriver
- 8mm Socket
- 5mm Allen Key
- 30 torx
- 25 torx
- 20 torx
Difficulty: 2/5 (1=Oil Change)(5=Engine Rebuild)
Stock Intake Removal:
- Remove Engine Cover (Simply Pull Up)
- Disconnect Battery Ground
- Remove Factory Metal Clamp on Turbo Inlet Hose (See Below)

- Jack up Vehicle/Lift Vehicle (See Below)

- Remove Rear Wheel (Re-TQ to 75-80ftlbs)
- Remove Rear fender liner (Philips Screw Driver/25torx/5mm Allen)

- Unplug MAF (slide out yellow tab and depress clip)

- Locate and remove Metal Clamps on MAF sensor (both clamps)

- Disconnect MAF and Remove (Use Care)
- Locate Air-box Bracket, Remove 4 10mm bolts (See Below)

- Let factory Air-box drop down and remove Philips head screw on side of air-box

- Remove snorkel hose from factory air box
- Remove factory air-box (feed out through wheel well or from underneath vehicle)

- Remove Turbo Inlet hose
- Place MAF Sensor to the side this is re-used.
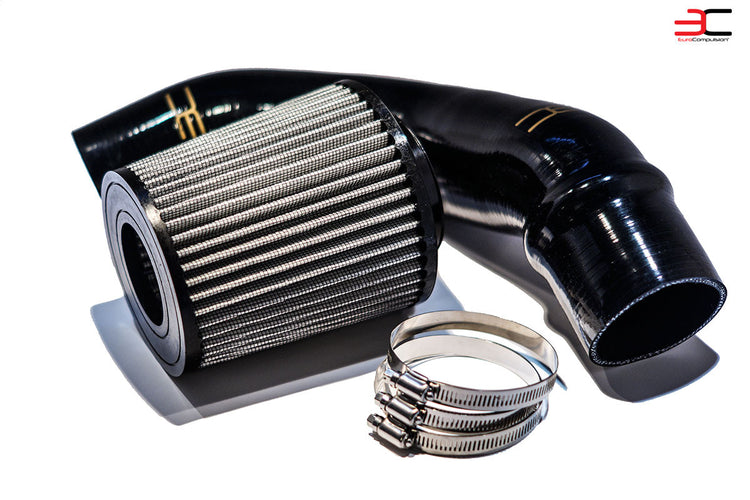
EUROCOMPULSION V2 Air Induction Kit Install:
- Install EC Silicone Hose on to Turbo Inlet (leave loose for final adjustment)

- Install Filter/Clamp onto MAF Sensor (utilize soapy water/non-silicone lubricant/Slide flat-tip around circumference to assist with fitment)

- DO NOT INSTALL FILTER BY PLACING FILTER ON GROUND AND FORCING MAF INTO FILTER. DAMAGE WILL OCCUR. (See Below)

- ENSURE AIR FLOW DIRECTION ON MAF IS CORRECT
- Tighten clamp on filter to MAF (8mm)
- Install Water Repellent sock onto filter (See Below)

- Feed MAF and filter into wheel well
- Connect MAF to turbo inlet hose (8mm)(See Below)

- Reconnect MAF sensor and push in yellow clip
- Ensure placement is correct, Ensure filter sits between Fender brackets(Rotate inlet hose to ensure proper placement)
- Tighten all clamps, extra attention to turbo inlet clamp (must be secure)

- Re-Install Wheel Well Cover
- Install rear Wheel
- Proper Installation (See Below)

NOTES:
- The factory clamps are one-time use clamps, they can be broken by manipulating the locking mechanism or simply clipped off/cut off.
- The Rear Quarter Panel can be removed making installation more accessible please see our blog for more information on this DIY. It is however NOT NECESSARY for successful installation of this intake system.
- This system will allow for more direct cold air via the original intake ducting as well as now utilizing the entire factory vent for cooler air. Turbo noises will also be more prevalent.
- These instructions are a guide, as always please seek professional installation.