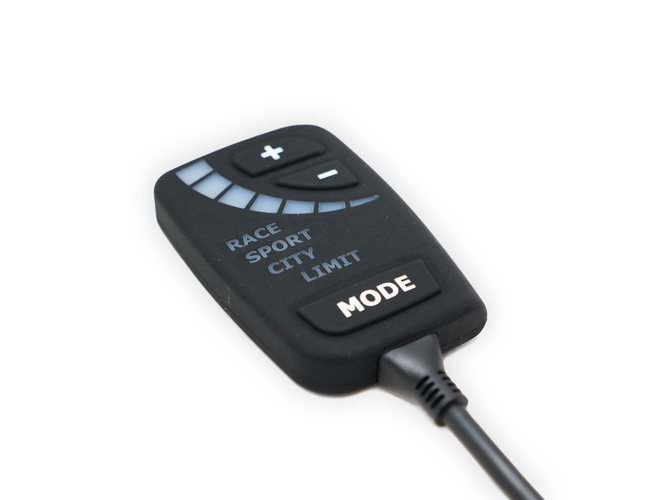
The following is a short installation guide for the EURO+DRIVE FR (Fast Response) pedal controller unit.
Installation and setup is incredibly quick and simple. This procedure will be the same for every application. The only difference being the specific connector used to connect to your pedal sensor/harness.
This guide also details how to setup the controller, and defines the operation of each mode and setting on the EURO+DRIVE FR.
INSTALLATION:
STEP 1:
Follow the diagram below:

- Remove carpeting and slide back if needed near the throttle pedal on the driver's side.
- Verify the key is not inserted or the ignition is not on. We recommend that you disconnect your negative battery terminal before disconnecting the pedal connector and sensor.
- Unplug the original connector from the sensor on your pedal.
- Plug the male connector from the EURO+DRIVE FR into the pedal sensor.
- Plug the factory connector into the female connector on the EURO+DRIVE FR.
- Connect the EURO+DRIVE FR lower harness to the controller module.
INITIAL SETUP:

- Reconnect negative battery terminal.
-Turn on your ignition (engine still off)
- Press and hold (at least 5 seconds) the "+" and "-" buttons until the "MODE" button begins flashing.
- Release the "+" and "-" buttons.
- Fully depress the accelerator pedal and then release (repeat this action at least 3 times to calibrate.
- Once complete, press any button to exit the procedure. Calibration is now saved.
ATTENTION:
- During calibration, the LED graph bar will illuminate proportionate to percent of pedal depressed. In some cases, even with the pedal fully depressed, the LED graph bar will not light up completely. In this case, proceed anyway to save your calibration
- For vehicles equipped with automatic transmission, during the calibration procedure, it is necessary to fully depress the accelerator pedal and activate the kick down switch on the back of the pedal at 100%.
USER GUIDE:


