

Start by removing the engine cover. Two cover plates can be removed with a flat head screwdriver. The bolts holding on the cover are 2 -10mm bolts. Once removed you will have more access to the turbo side of the intake system.

Loosen the clamp connecting the intake to the turbo inlet. Loosen the clamp holding the air intake piece of the air flow sensor attached to the factory air box.

The larger line coming off the intake can be pinched to be removed. The clamp on the smaller hose can also be removed at this time. On the bottom side of the intake will be two plastic evap quick connect lines. These can be pinched to be removed as well.

After the factory intake piece is removed, you will need to remove the 10mm bolt located on the passenger side holding the air box in place.
Release the electrical connector on the air sensor. Pull the red tab out until it clicks then pinch the whole connector to remove. There is a fresh air duct connecting the front of the air box to the front of the vehicle. This tube needs to be removed. It can be pinched to be removed.
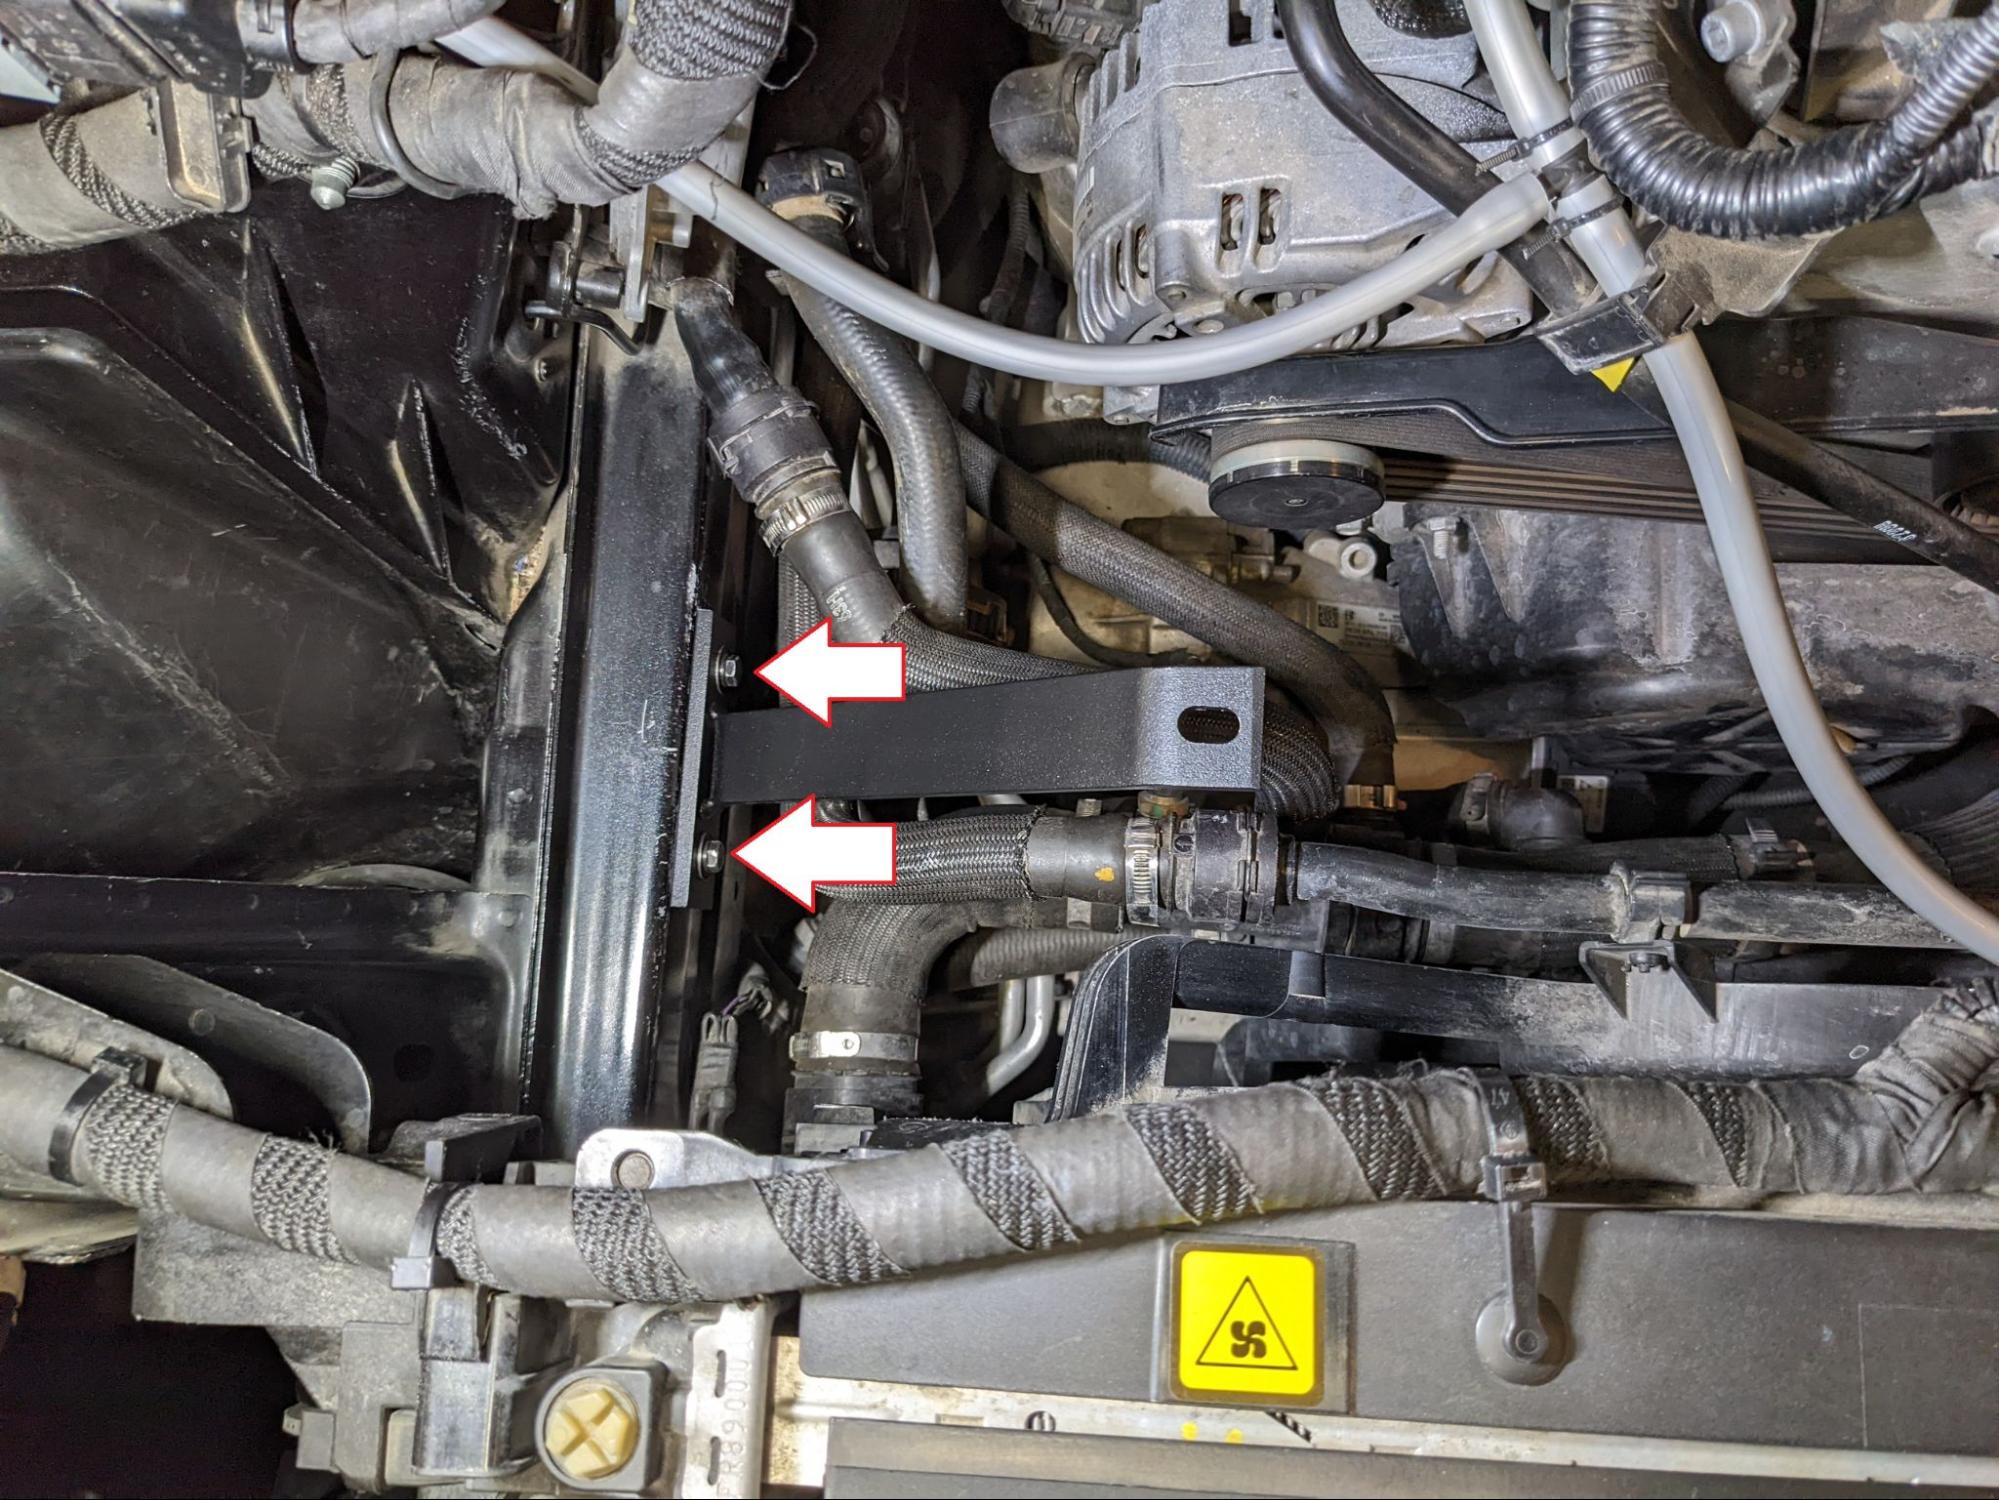
Once the air box is removed from the car, you will need to remove the factory mass air flow sensor bung and reuse it with the Eurocompulsion V4 intake system. It is held onto the air box by two torx socket cap bolts. The lower bracket holding the air box needs to be removed next.
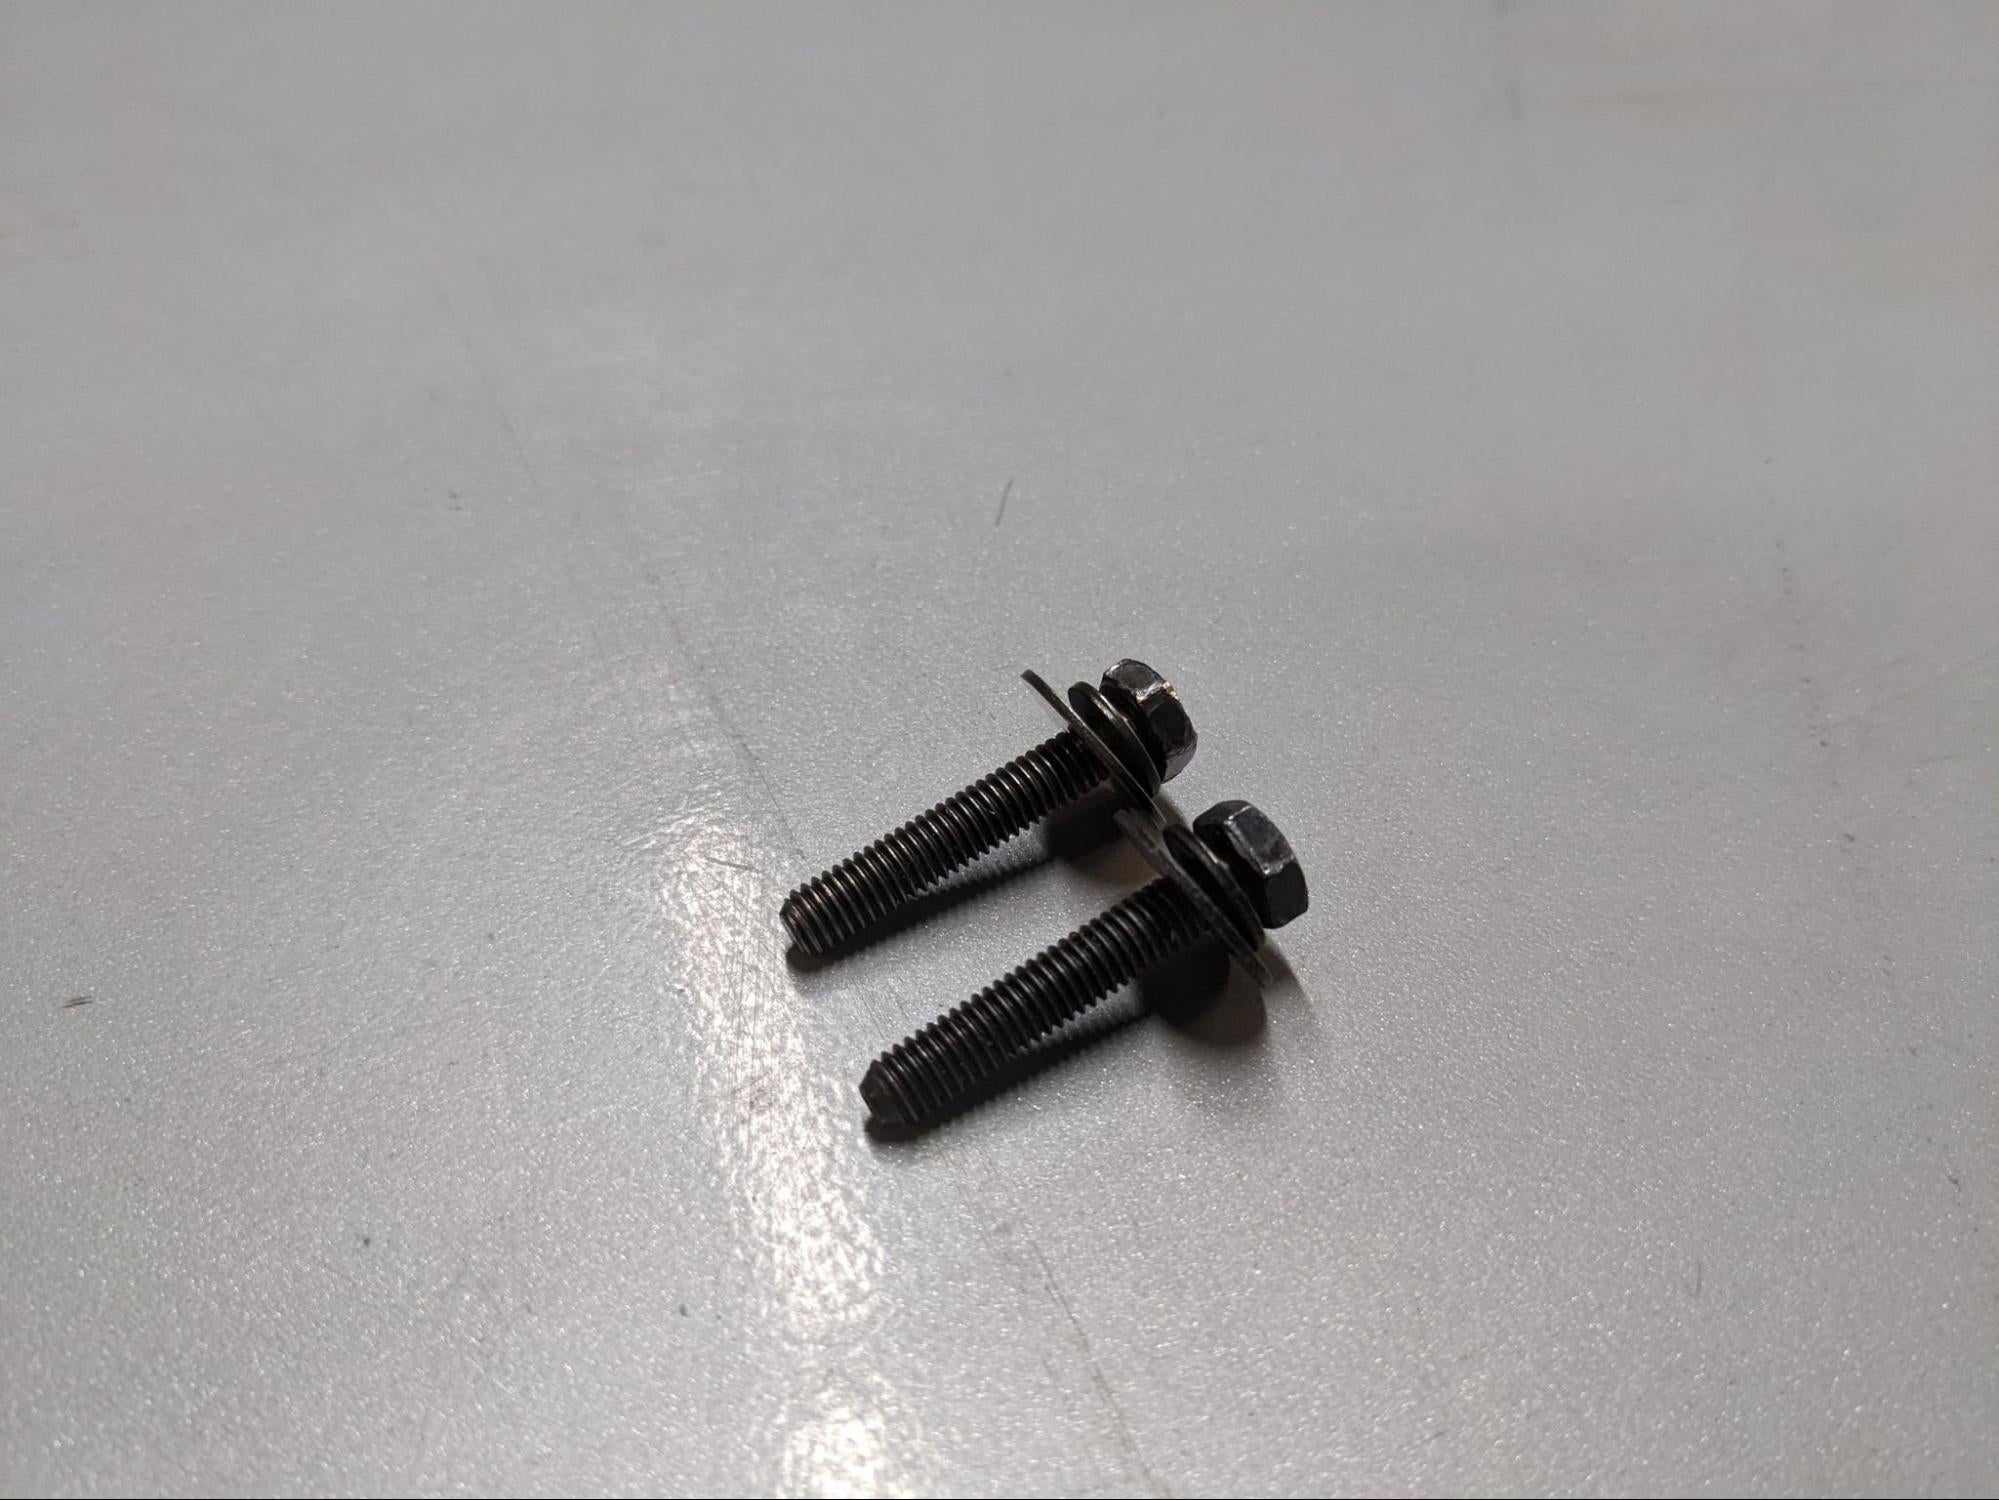
Be sure to keep both bolts holding the brackets. They will be reused on the Eurocompulsion intake box.


Once the factory system has been removed we can start installing the new intake system. Start by using the supplied evap hoses and connect to the two quick connect fittings you disconnected from the factory intake piece.

Locate the two factory bolts that were removed from the factory bracket and install them for the new lower bracket included with the V4 intake kit. 2 - 10mm hex head bolts can be tightened down.
We find it easier to pre-install our fresh air duct (3d printed piece) before fitting the silicone into place. This however can be done both ways.
Use a lot of soap and water to ensure the silicone can be manipulated and twisted into place. Below is a photo illustrating how the air duct needs to be attached to the silicone if you choose to attach the duct and install it as one unit.


The side of the air duct (rounded rectangle) that connects to the factory shroud is a VERY tight fit. This may require you to compress the sides of the factory shroud to allow the duct to fit over. It will fit, but may require some manipulation. This piece is designed to attach with no screws or adhesives.
Below shows what it will look like if you install the air duct before the silicone piece.

The clamps that hold the ram air tube to the air duct and to the air box are optional. We have done extensive testing and everything stays in place without clamps. We include them for your peace of mind.
Once both pieces are installed, the silicone piece should have the same orientation shown below with the outlet of the ram air piece facing upward. (this is without optional clamps)

Next you want to apply a lot of soapy water to the inlet of the filter housing. This will help when attaching to the ram air tube.

Press the air box into place on the silicone and secure the attached upper bracket (with the Eurocompulsion logo) with the included M6x1.0 bolt and washer. You may have to place your hand around the air box to ensure the lower silicone is fully seated on the inlet of the air box.
DO NO TIGHTEN this bolt yet. HAND TIGHT works best to allow movement for the lower bracket. Check and make sure the silicone piece is firmly seated on both inlet and outlet side.


Locate the included M8x1.25 bolt and washer and secure the lower bracket to the bung attached on the bottom of the air box (be careful not to drop this bolt!). Once both bolts are in place make sure the air box is sitting evenly, then fully tighten both bolts.

Once the air box is in place, attach the MAF joiner. This will also require soap and water to allow the silicone to move freely. Attach the provided clamp.

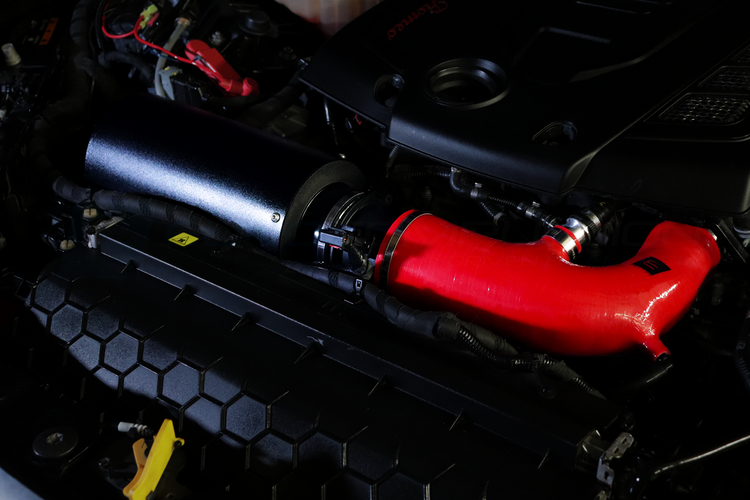
Finally attach the main silicone piece. The best method is using soap and water and attaching the larger side to the MAF joiner and rotating it towards the back of the car until you can attach it to the turbo inlet. Attach the blow off hose port and secure the clamp at the turbo inlet side and MAF joiner side. Ensure that everything feels solid for final inspection.

